Search Blog
Recent Posts
-
 How to Use PrestaShop...
This blog post looks into how you can use prestashop modules effectively and how you can enhance your store's...
May 5, 2026 Read more
How to Use PrestaShop...
This blog post looks into how you can use prestashop modules effectively and how you can enhance your store's...
May 5, 2026 Read more -
 Best Shopping Cart for SEO...
This blog compares the best shopping cart platforms for SEO in 2026, including Shopify, WooCommerce, Magento,...
Apr 20, 2026 Read more
Best Shopping Cart for SEO...
This blog compares the best shopping cart platforms for SEO in 2026, including Shopify, WooCommerce, Magento,...
Apr 20, 2026 Read more -
 Canonical vs Hreflang Tag:...
Canonical tags prevent duplicate content by selecting a preferred page, while hreflang tags target language and...
Apr 13, 2026 Read more
Canonical vs Hreflang Tag:...
Canonical tags prevent duplicate content by selecting a preferred page, while hreflang tags target language and...
Apr 13, 2026 Read more -
 PrestaShop 9.1: A Major...
Learn what’s new in PrestaShop 9.1, including performance upgrades, modern architecture, and improved developer...
Apr 6, 2026 Read more
PrestaShop 9.1: A Major...
Learn what’s new in PrestaShop 9.1, including performance upgrades, modern architecture, and improved developer...
Apr 6, 2026 Read more -
 How WhatsApp Chat Reduces...
Learn how integrating WhatsApp chat in your PrestaShop store prevents cart abandonment by offering instant support,...
Mar 30, 2026 Read more
How WhatsApp Chat Reduces...
Learn how integrating WhatsApp chat in your PrestaShop store prevents cart abandonment by offering instant support,...
Mar 30, 2026 Read more

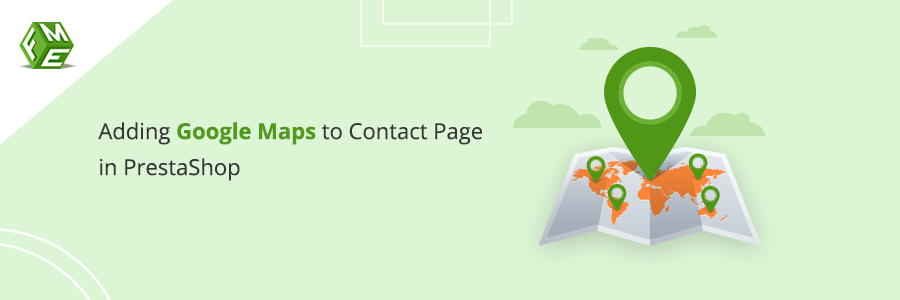
How to Add Google Maps to Contact Page in PrestaShop
Posted On: May 15, 2023
Categories: web design
Providing your potential customers with your store's location with Google Maps is mandatory now. with the increased use of smart technology, your potential customers may be visiting your store via their mobile phones and gadgets. You can also equip your PrestaShop store with modern-day trends. This tutorial is going to help you add Google Maps with two methods. The first one is about copying the code we provide, the second one is about installing the PrestaShop Google Maps module. Review both methods to go with the one you are comfortable with.
How to add PrestaShop Google Maps using a code?
To add Google Maps to a contact page, you need to access FTP Client and the ability to edit html files. Access the FTP client. Navigate to the themes section, and select your theme to find contact.tpl under templates.
Copy and paste the following code in a specific place on the contact page. We can add it below the main content block.
.png)
The code in the third line represents container settings to display well for different resolutions. The fourth line of code is about the width and height so that a Google map is placed at the right place.
Add JavaScipt Code. It will download the maps library and settings from the Google servers and preserve it in a google-map-contact.js file. It resides in your store's theme/assets/js/google-map-contacts.js. Add the file and the following code:
function myMap() {
var myLatLng = {lat: 50.0928392, lng: 19.9244297};
var mapOptions = {
zoom: 15,
center: myLatLng
}
var map = new google.maps.Map(document.getElementById('googleMap'), mapOptions);
var contentString =
PrestaPros
30-067 Kraków ul. Piastowska 44/4
tel. (+48)574 887 340
;
var infowindow = new google.maps.InfoWindow({
content: contentString
});
var marker = new google.maps.Marker({
position: myLatLng,
// icon: '/img/marker.png',
// title: 'Hello World!'
});
marker.addListener('click', function () {
infowindow.open(map, marker);
});
marker.setMap(map);
}
To make the code effective, you need to change the required data such as changing myLatLng object with your coordinates. Take this data straight from Google Maps. Localizing a website may also need changing ContentString with the same data. Customize the marker image path using the code.
To modify JavaScript, we can override ContactContoller. Get into the ContactController.php file and edit it with path override/controller/front. In the absence of such a file, you need to create a new one and use this code.
class ContactController extends ContactControllerCore { private $googleMapsApiKey = 'xxxxxxxxxxxxxxxxxxxxxxxxxxxxxxxx'; public function initContent() { parent::initContent(); $this->registerJavascript( 'google-maps-api', 'https://maps.googleapis.com/maps/api/js?key='.$this->googleMapsApiKey.'&callback=myMap', ['server' => 'remote', 'position' => 'bottom', 'priority' => 999, 'attribute' => 'defer'] ); $this->registerJavascript( 'google-map', 'themes/TWÓJ_SZABLON/assets/js/google-map-contact.js', ['server' => 'remote', 'position' => 'head', 'priority' => 999] ); } }Here, again, you will need to replace googleMapsApiKey values with the key you are provided with. Get the key from https://developers.google.com/maps/documentation/javascript/adding-a-google-map#key. Change the value of NAME_OF_YOUR_THEME as well.
If the file is modified before, you need to add code for JavaScript and Google Map API key.
$this->registerJavascript( 'google-maps-api', 'https://maps.googleapis.com/maps/api/js?key='.$this->googleMapsApiKey.'&callback=myMap', ['server' => 'remote', 'position' => 'bottom', 'priority' => 999, 'attribute' => 'defer'] ); $this->registerJavascript( 'google-map', 'themes/TWÓJ_SZABLON/assets/js/google-map-contact.js', ['server' => 'remote', 'position' => 'head', 'priority' => 999] ); It seems to be the easiest method to add Google Maps to the contact page in PrestaShop. Try it if you are familiar with code editing else it may require the assistance of a web developer. To save yourself from the struggle and create multiple store locations, it is better to use the PrestaShop module.
How to add Google Maps using PrestaShop Module?
Google Maps Contact Us module is one of the effective tools that save you a lot of time in adding the Google map location of your store on the contact us page. You enable Google Recaptcha to prevent spammers from using the contact page forms for their evil intentions. There are lots of other options to personalize the contact page of your eCommerce website.
Follow the tutorial below to add Google Maps with a few clicks.
Install Google Maps on Contact Us module.
Configure these settings. It allows you to add:
- Email address with icon
- Store’s physical address with icon
- WhatsApp number with icon
- Map API key
- Captcha site key
- Disable left column
Save the settings and it’s all done.
Go to the stores' section to add a Google map location for each store. An additional map section may appear on the Contact Us page of your store. All of your stores appear in a dropdown menu so that users can select a store and find its location.
Conclusion
Adding PrestaShop Google Maps is no more a difficult task. We have shared the easiest methods with you. Review the first one if you are familiar with the open-source code of PrestaShop and able to debug it if something goes wrong. The second method of adding maps with the help of a module is considered safe and secure. It involves a few clicks and removes the probability of bugs. If any issue arises, you can seek free of cost assistance from its developer company.