Search Blog
Recent Posts
-
 Ecommerce SEO for Google &...
Learn how online stores can improve visibility in Google, AI Overviews, ChatGPT, Gemini, and other AI search...
Jun 8, 2026 Read more
Ecommerce SEO for Google &...
Learn how online stores can improve visibility in Google, AI Overviews, ChatGPT, Gemini, and other AI search...
Jun 8, 2026 Read more -
 How to Use PrestaShop...
This blog post looks into how you can use prestashop modules effectively and how you can enhance your store's...
May 5, 2026 Read more
How to Use PrestaShop...
This blog post looks into how you can use prestashop modules effectively and how you can enhance your store's...
May 5, 2026 Read more -
 Best Shopping Cart for SEO...
This blog compares the best shopping cart platforms for SEO in 2026, including Shopify, WooCommerce, Magento,...
Apr 20, 2026 Read more
Best Shopping Cart for SEO...
This blog compares the best shopping cart platforms for SEO in 2026, including Shopify, WooCommerce, Magento,...
Apr 20, 2026 Read more -
 Canonical vs Hreflang Tag:...
Canonical tags prevent duplicate content by selecting a preferred page, while hreflang tags target language and...
Apr 13, 2026 Read more
Canonical vs Hreflang Tag:...
Canonical tags prevent duplicate content by selecting a preferred page, while hreflang tags target language and...
Apr 13, 2026 Read more -
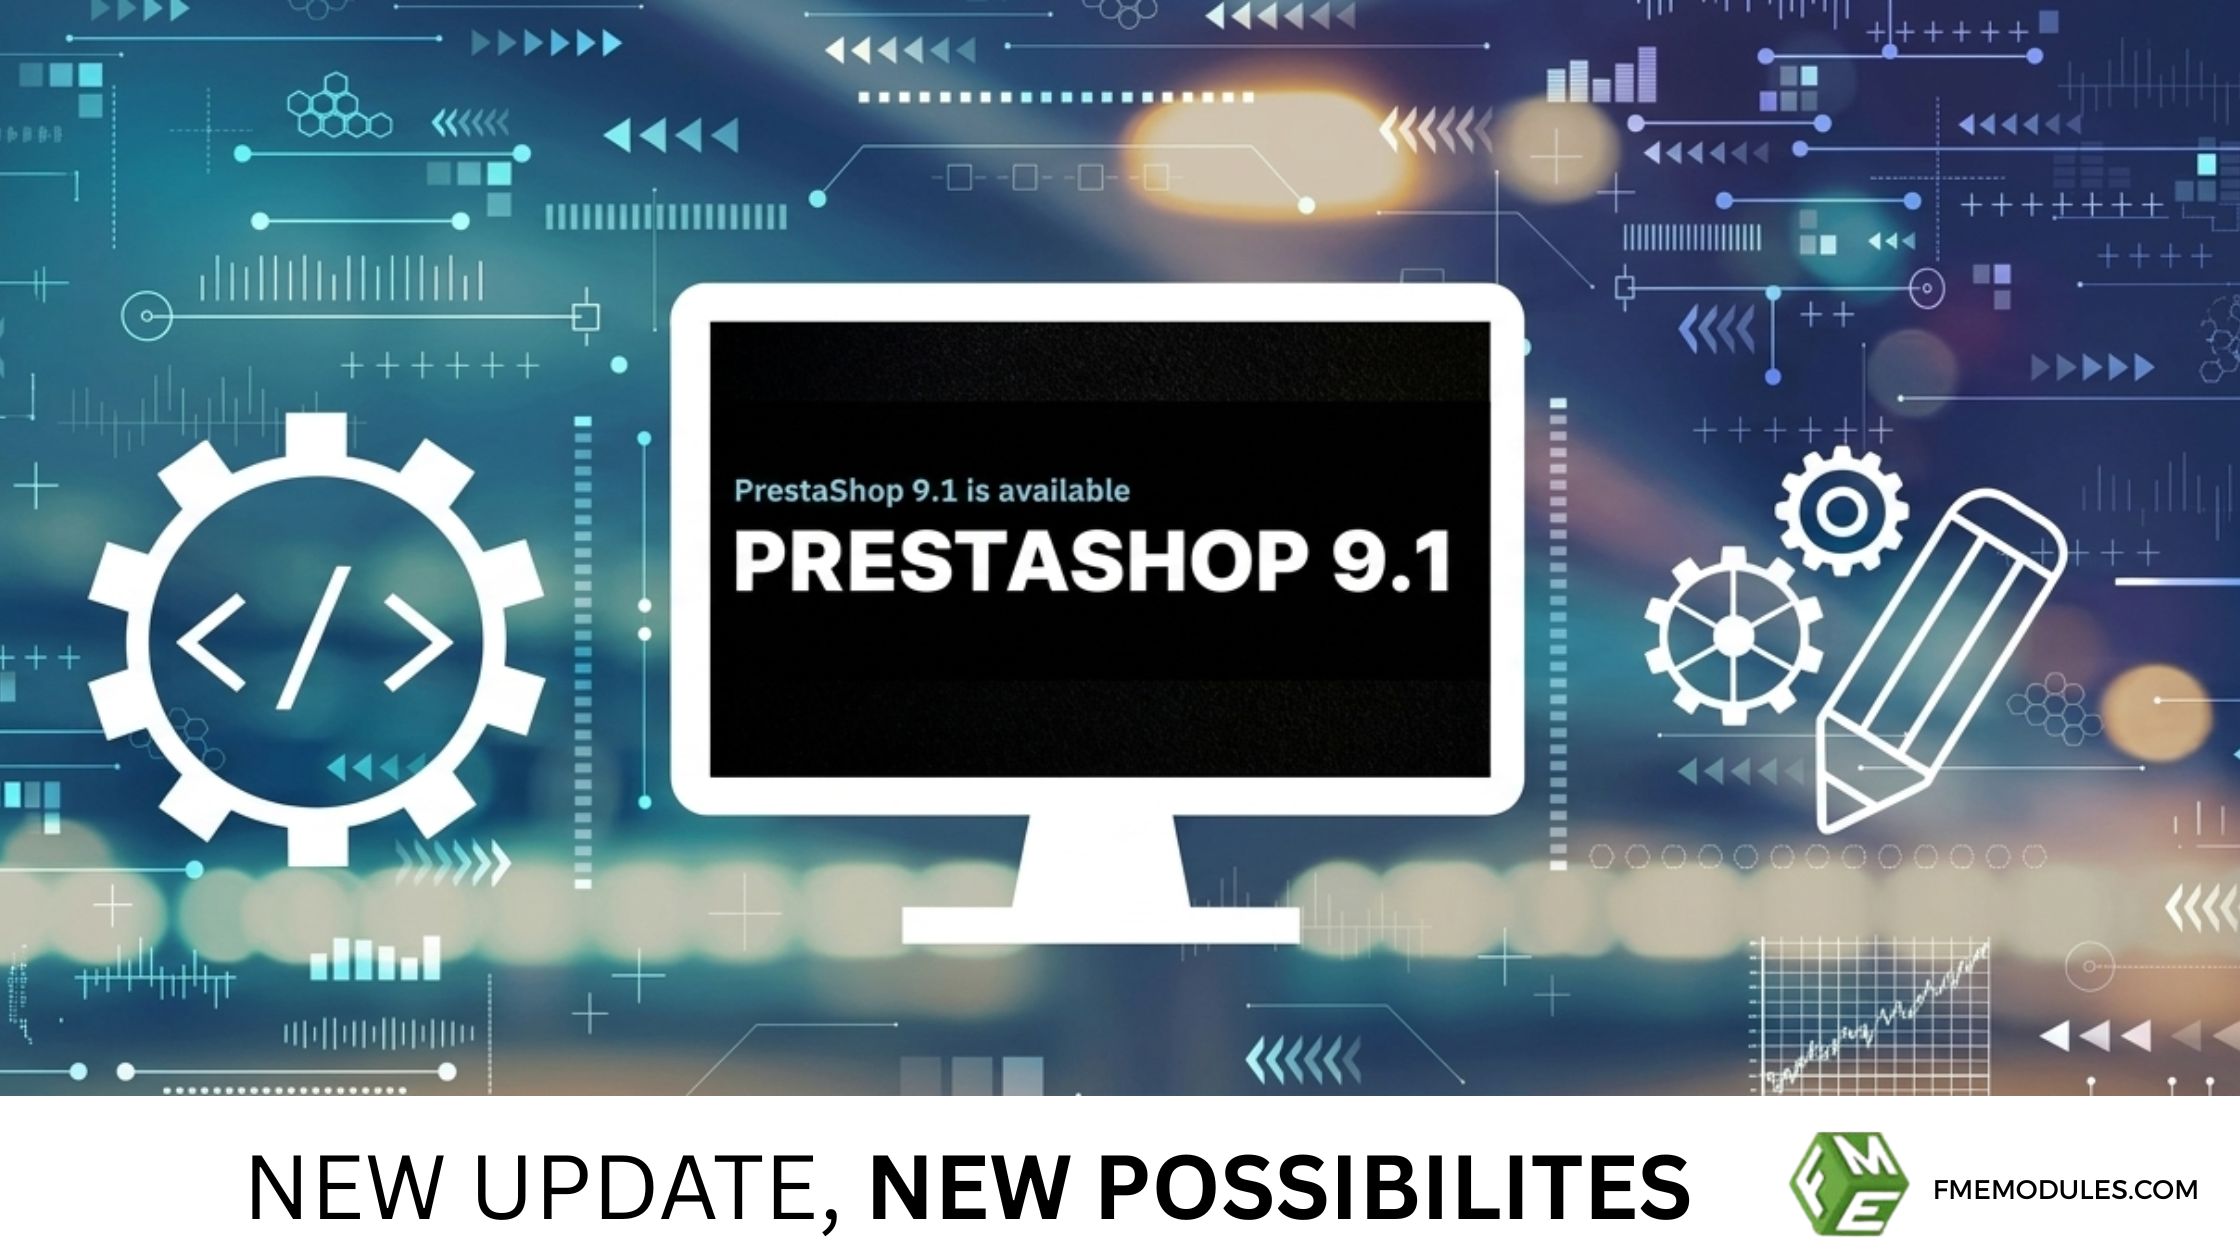 PrestaShop 9.1: A Major...
Learn what’s new in PrestaShop 9.1, including performance upgrades, modern architecture, and improved developer...
Apr 6, 2026 Read more
PrestaShop 9.1: A Major...
Learn what’s new in PrestaShop 9.1, including performance upgrades, modern architecture, and improved developer...
Apr 6, 2026 Read more
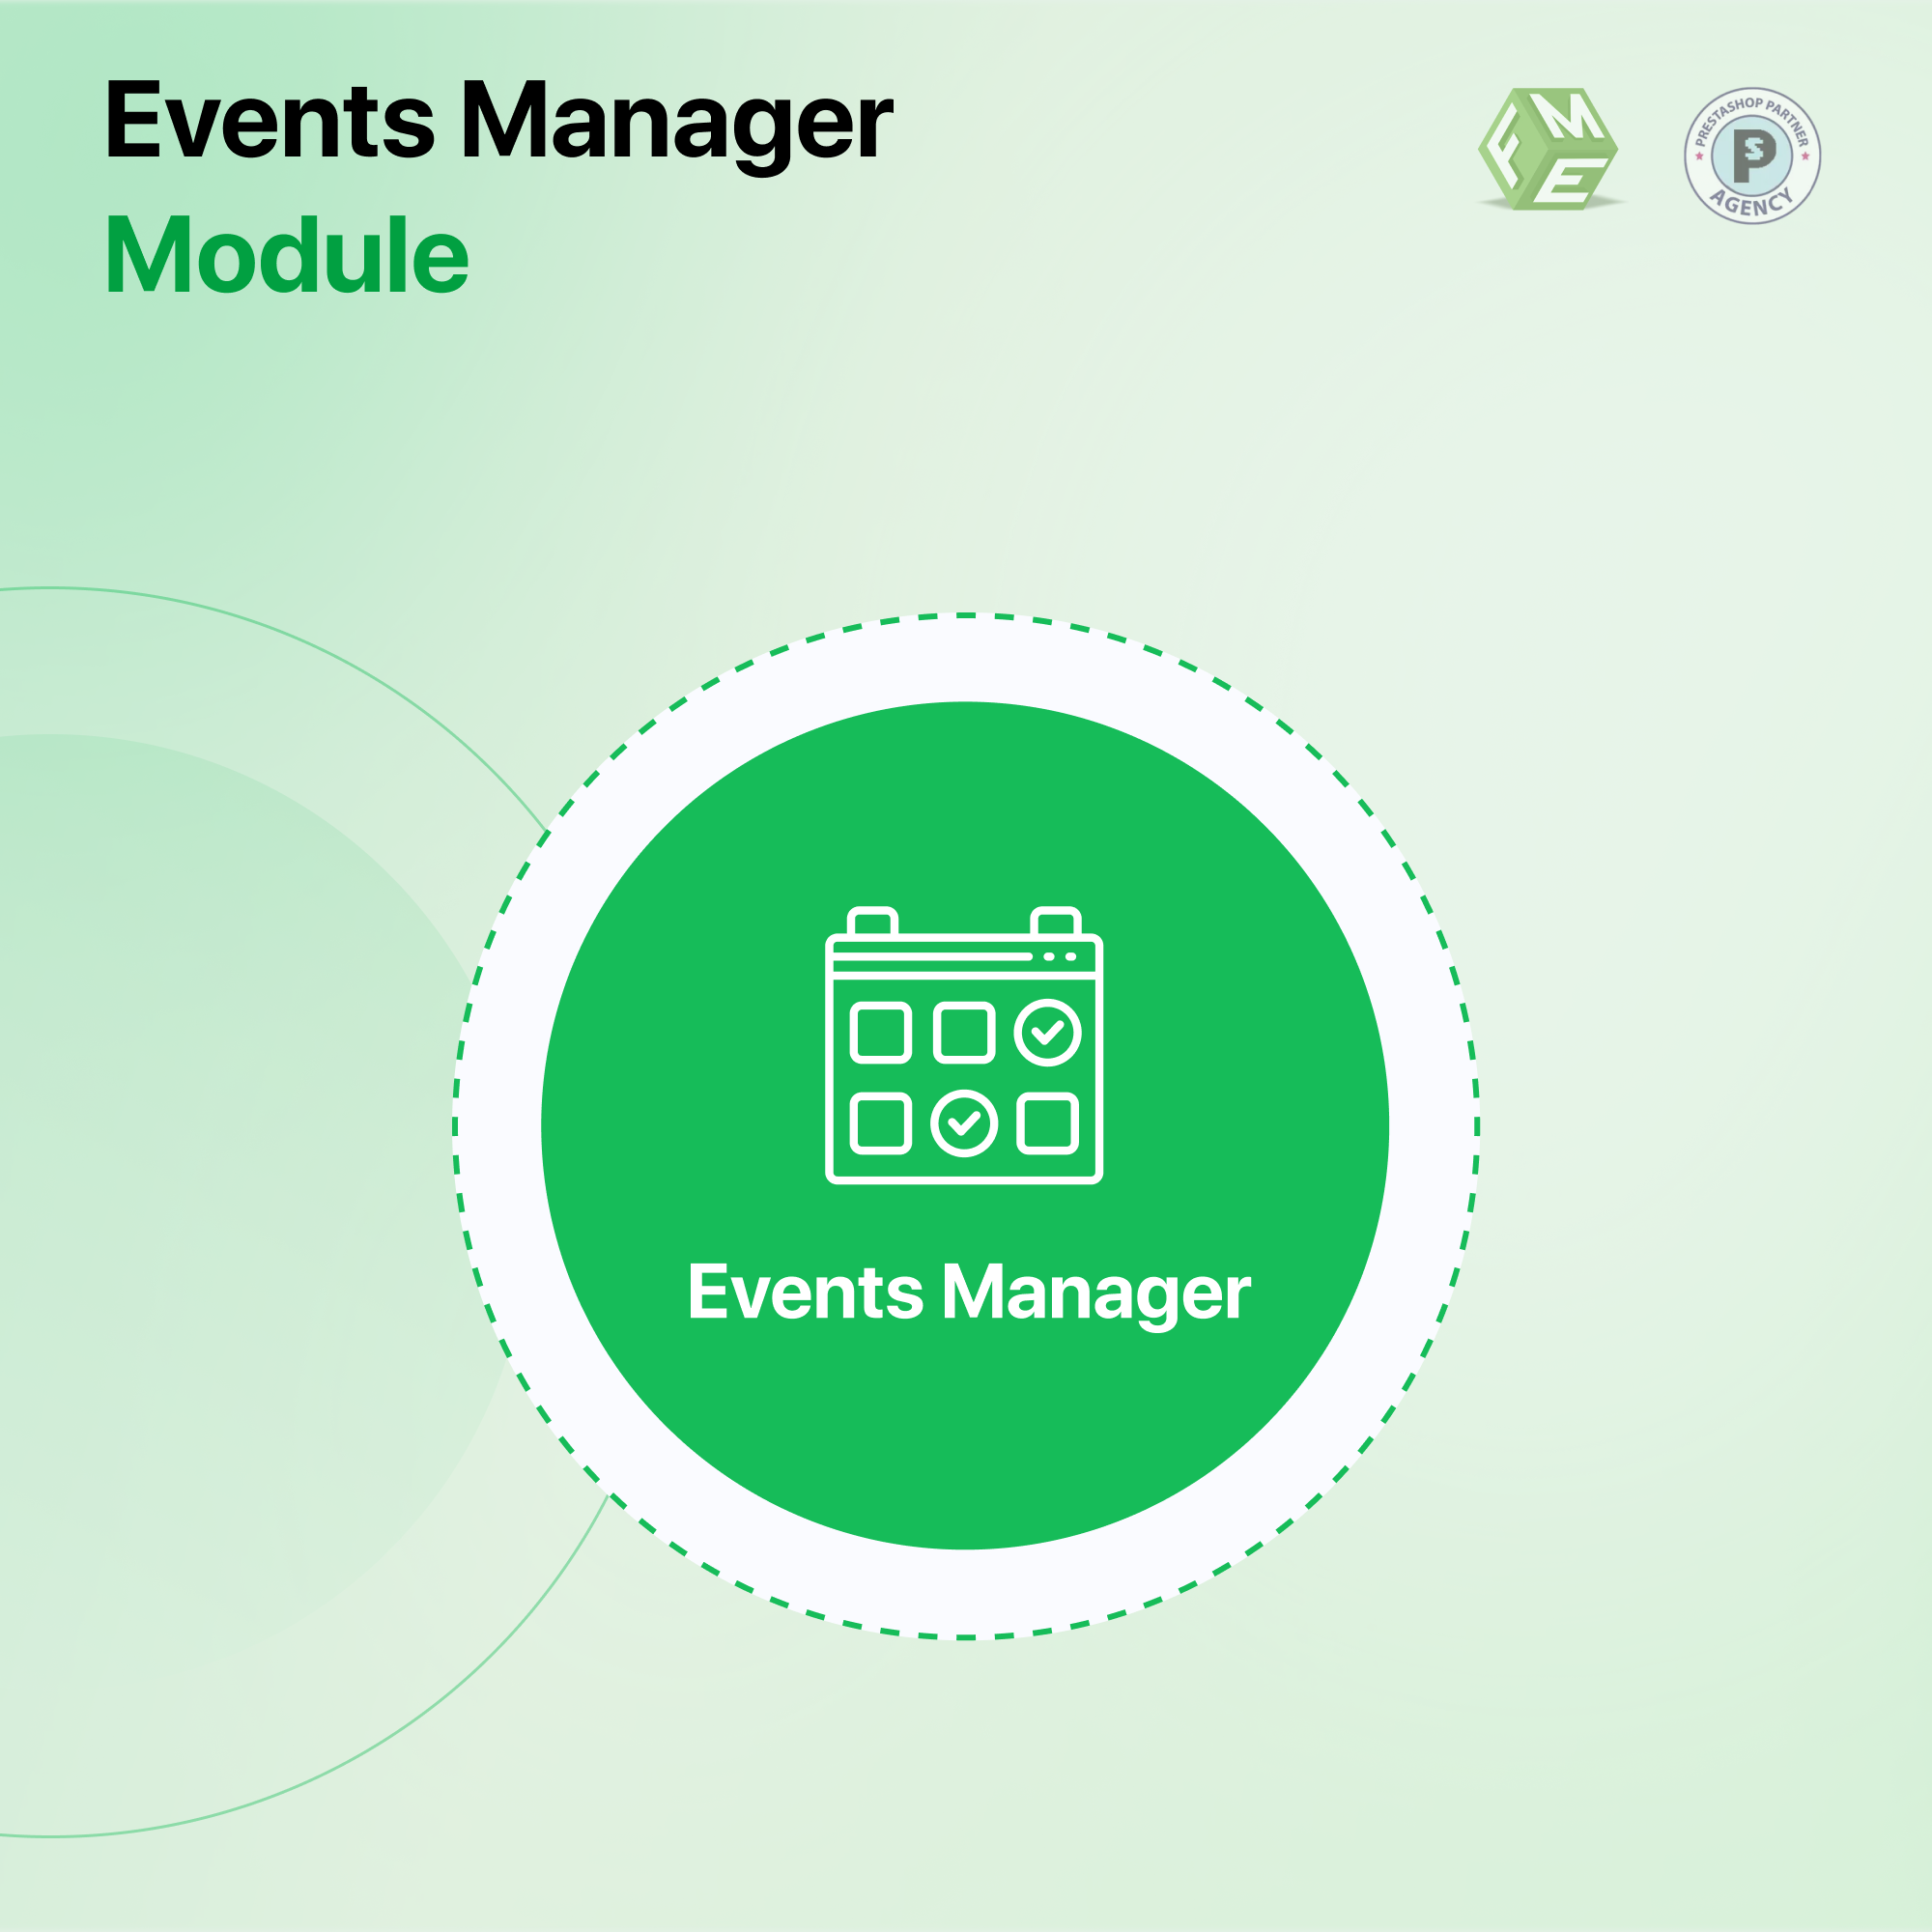
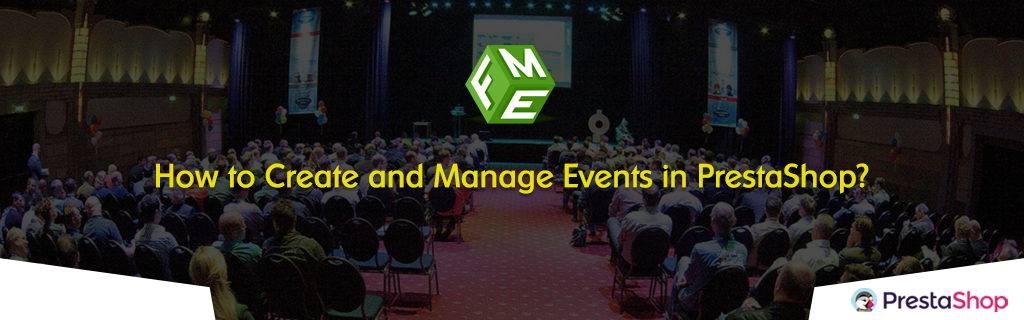
How to Create and Manage Events in PrestaShop Store?
Posted On: Sep 17, 2018
Categories: Shopping Carts and E-Commerce Platforms: A Complete Guide
The PrestaShop eCommerce platform is rich with key features for showcasing products, whereas to create and manage your business events, you are required to install PrestaShop calendar Module, as it is a recommended one. For the complete procedure of creating events with the help of this plugin, please follow the below tutorial.
Step 1: First of all, download and install the PrestaShop calendar module on your PrestaShop Store. Then, navigate to the module section, and move to configuration settings.

Step 2: In the configuration settings, you can enable the PrestaShop Events module. An event block can also be enabled. You can add Meta details for the dedicated events page for higher ranking and reach. Select a sorting order for the events.
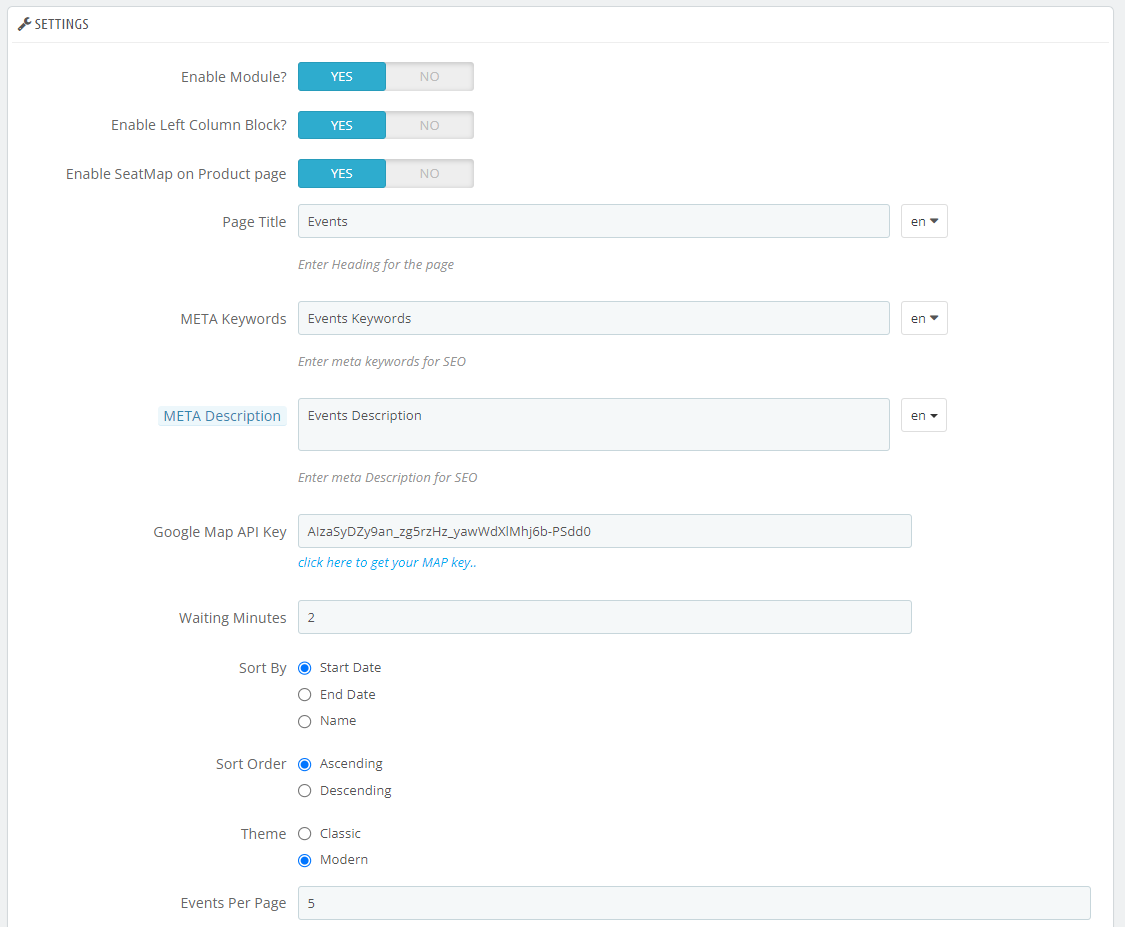
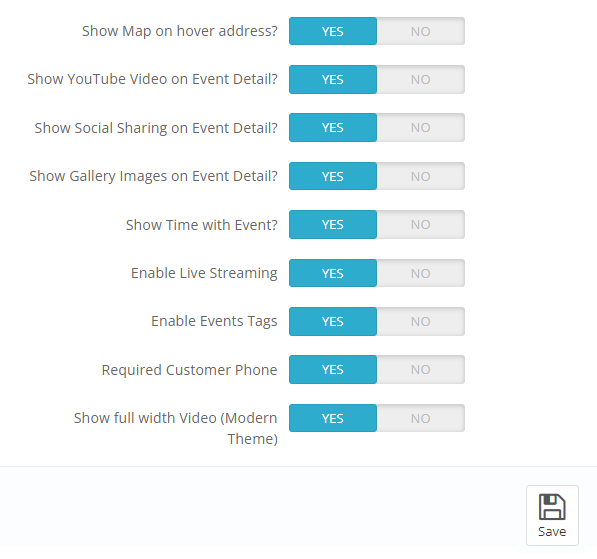
On the same page, you can configure further settings for the frontend. You can allow map on mouse hover, Youtube video display, Social sharing, time, live streaming, etc.
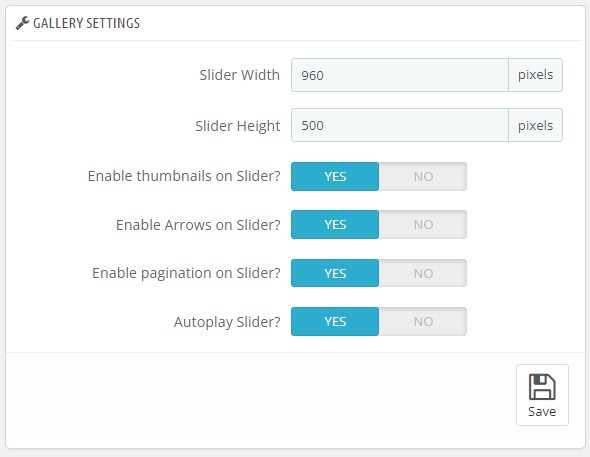
Step 3: On the same page, you can configure gallery settings. It includes setting of slider width and height and other factors. Click Save after selecting your preferences.
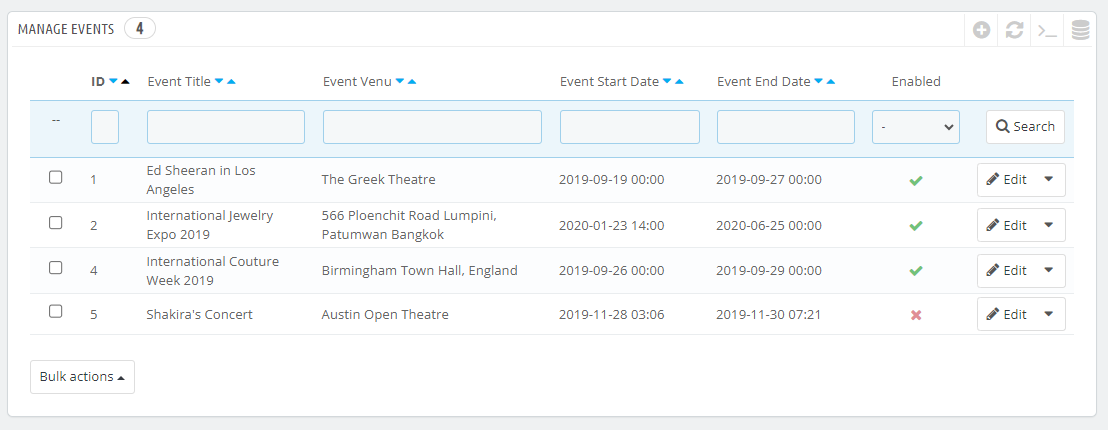
Step 4: After configuration, move to event management by clicking on the Events tab in the left menu. Here, you will see a number of events listed on the page. Click on a listing to edit or make changes to it, whereas for adding a new event, click the plus (+) sign above the listings.
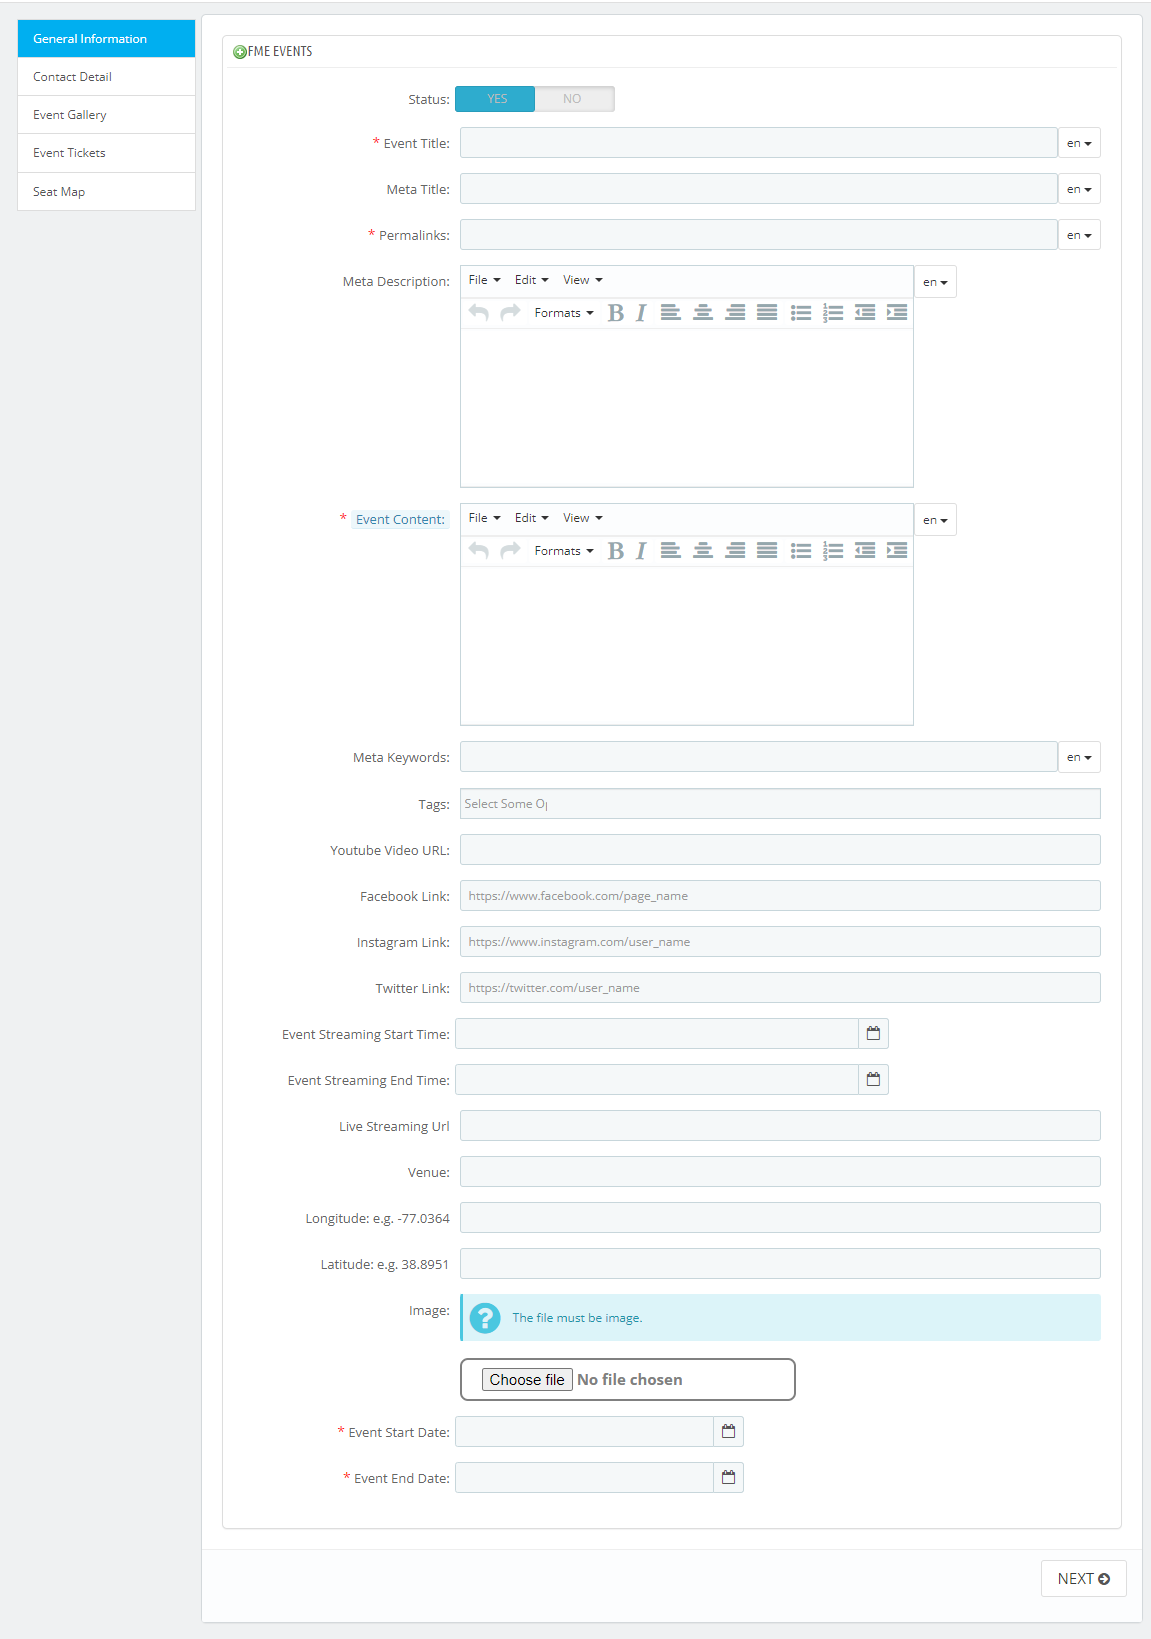
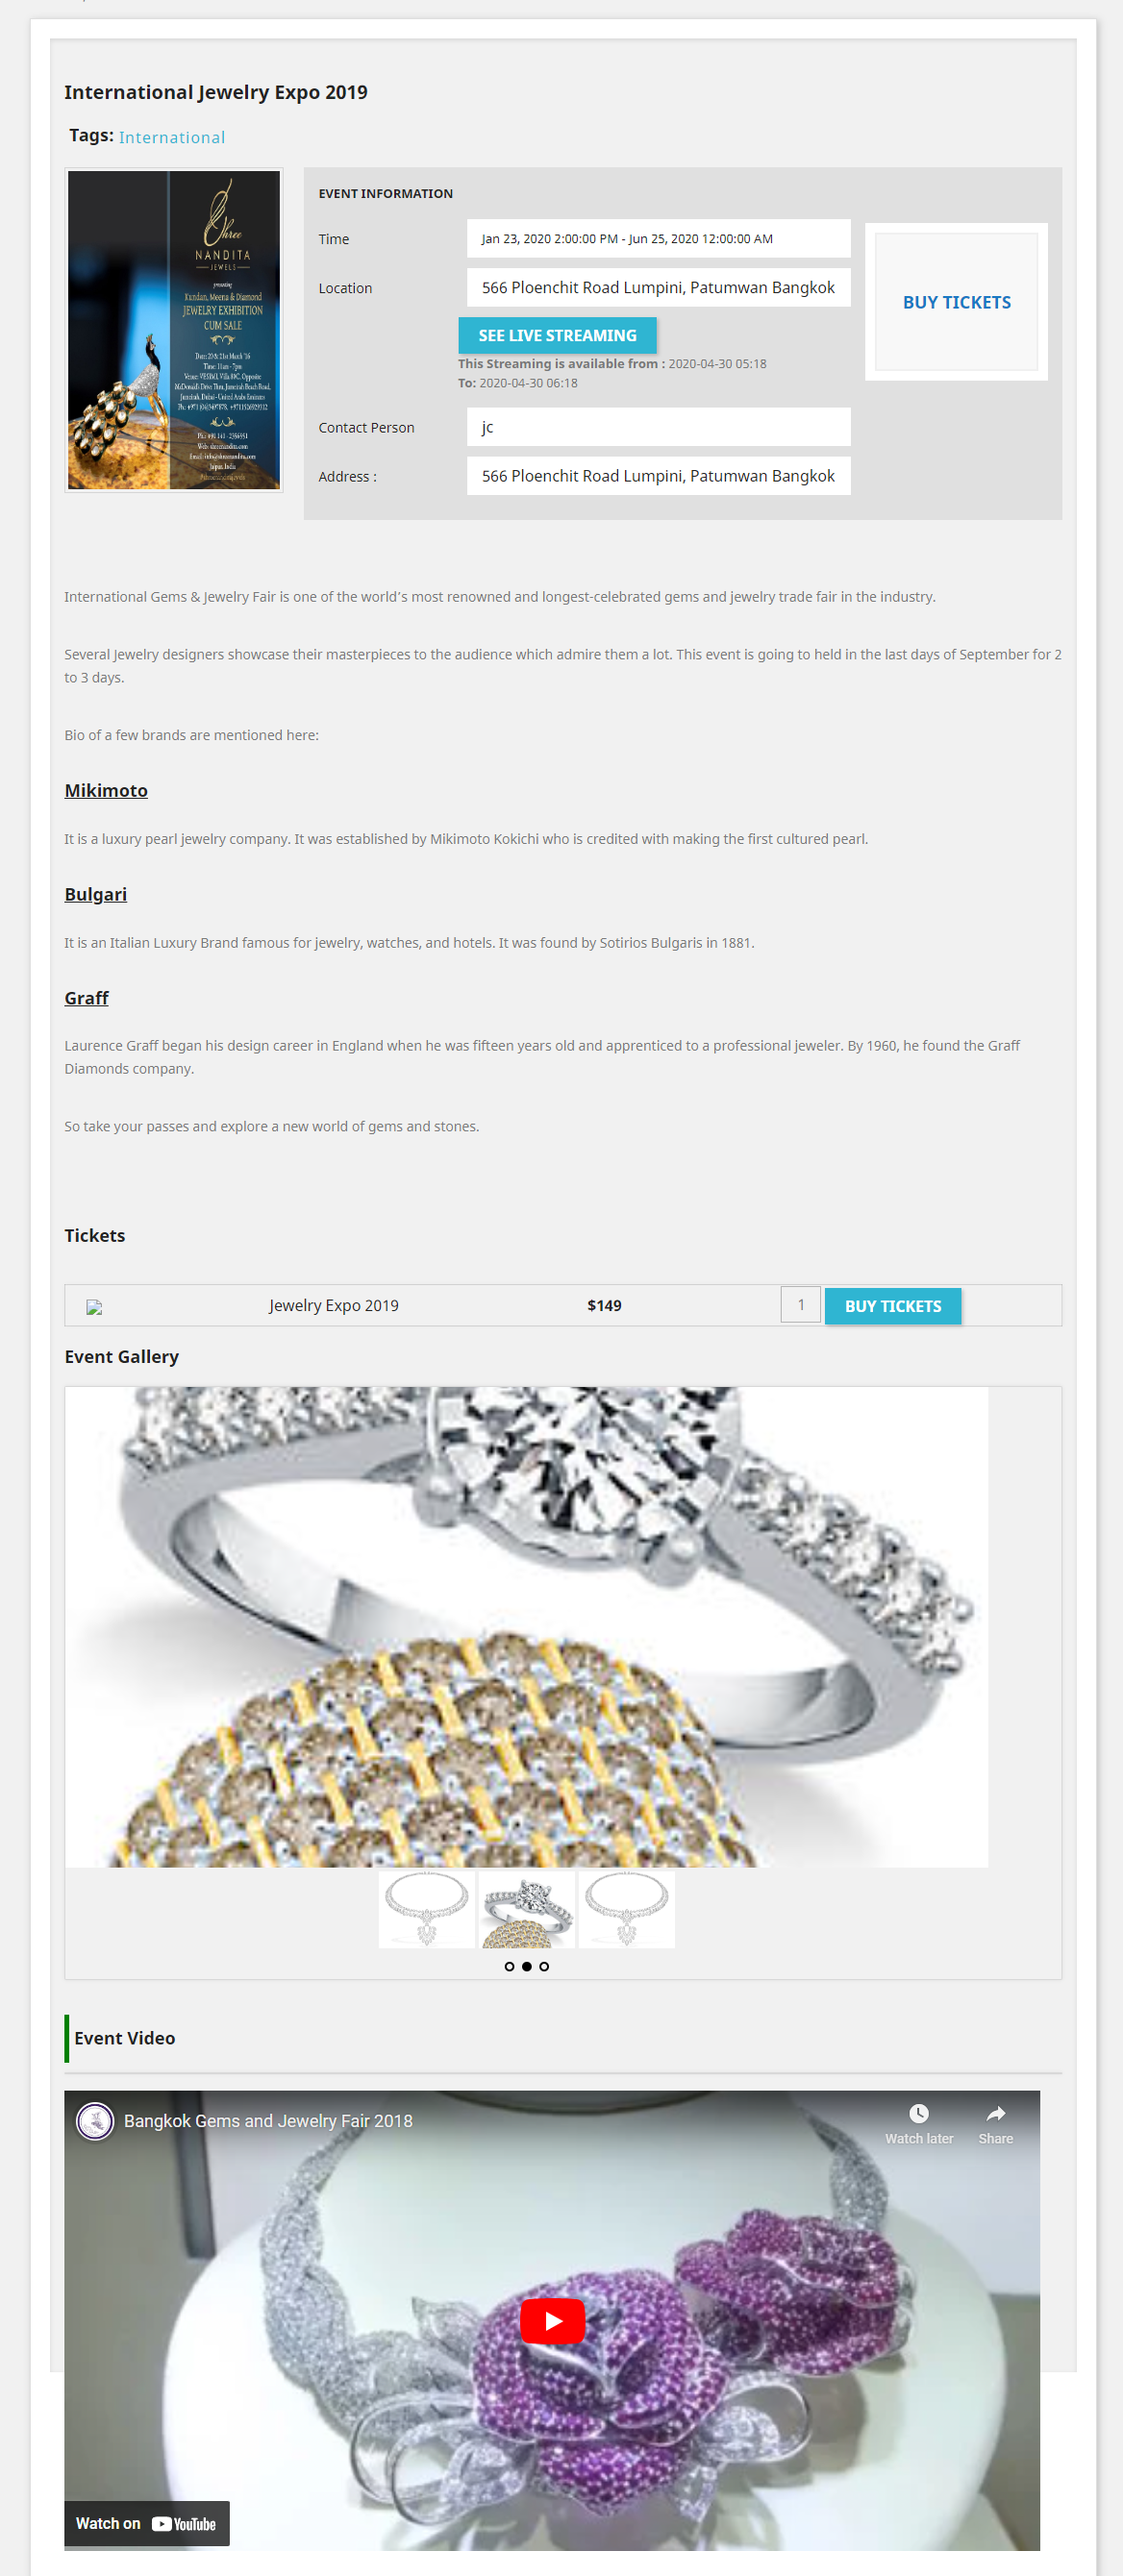
Step 5: A new screen will appear where you can create an event from scratch. It allows you to add a custom title, start and end date, venue, image, video, content and Meta details of the event. You can also add Youtube video URL, Social links, timings, streaming url, Venue Latitude and Longitude. There is also a date to schedule your event by adding start and end date.
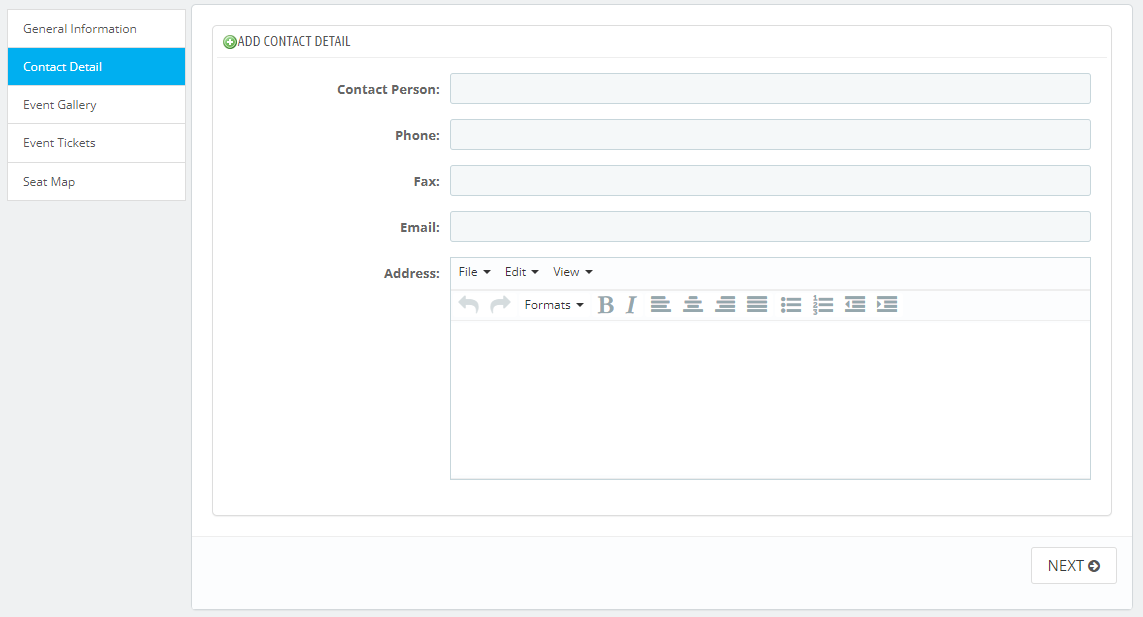
Step 6: After saving the basic event information, on the same page, you can fill in the contact details of the person who shall be contacted about the event.
Step 7: Scroll down the page to add an image gallery to the event. Click browse to upload images from your computer or any other device and click Save.

Step 8: At the next step, you can see a list of store products for adding them to the event. Browse through the products and click one by one for assigning them to an event.

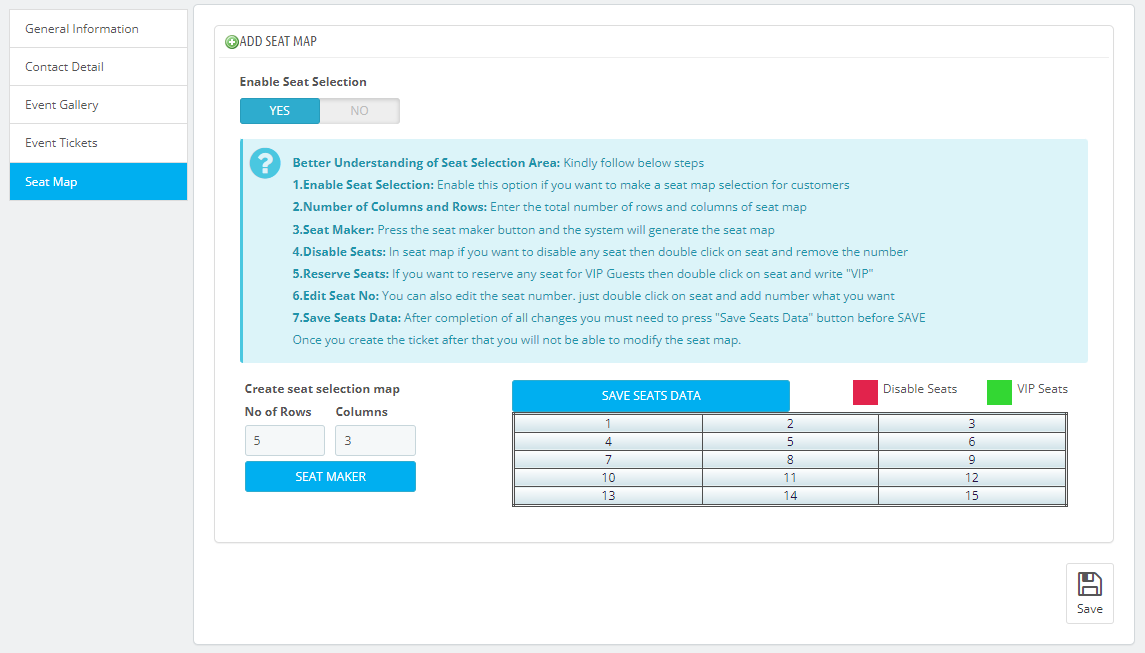
Step 9: At the next step, you can enable seat selection and can creat a seat map for the user's ease in order to select the seats. It can be done by mentioning the number of rows and columns.
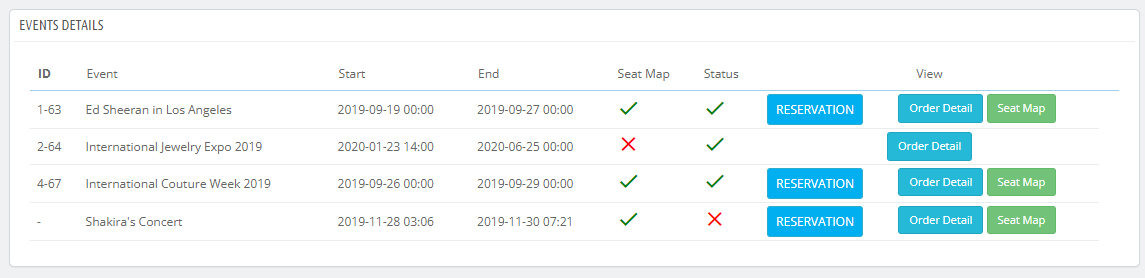
Step 10: You can go to the Event Details page from the menu and view the details about the event, including the reservation, order and seatmaps.
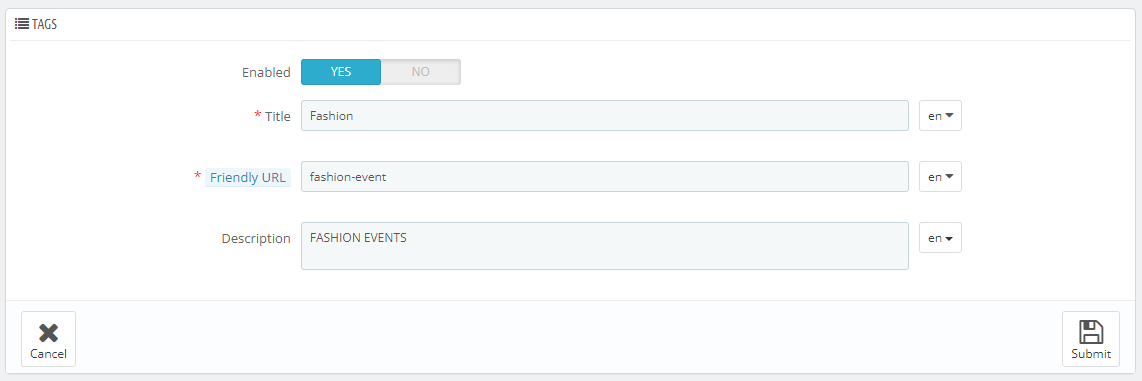
Step 11: You can also create multiple tags and can filter your events according to these tags.
Step 12: When you are done with saving the event, you can view them all on the front-end with brief details.
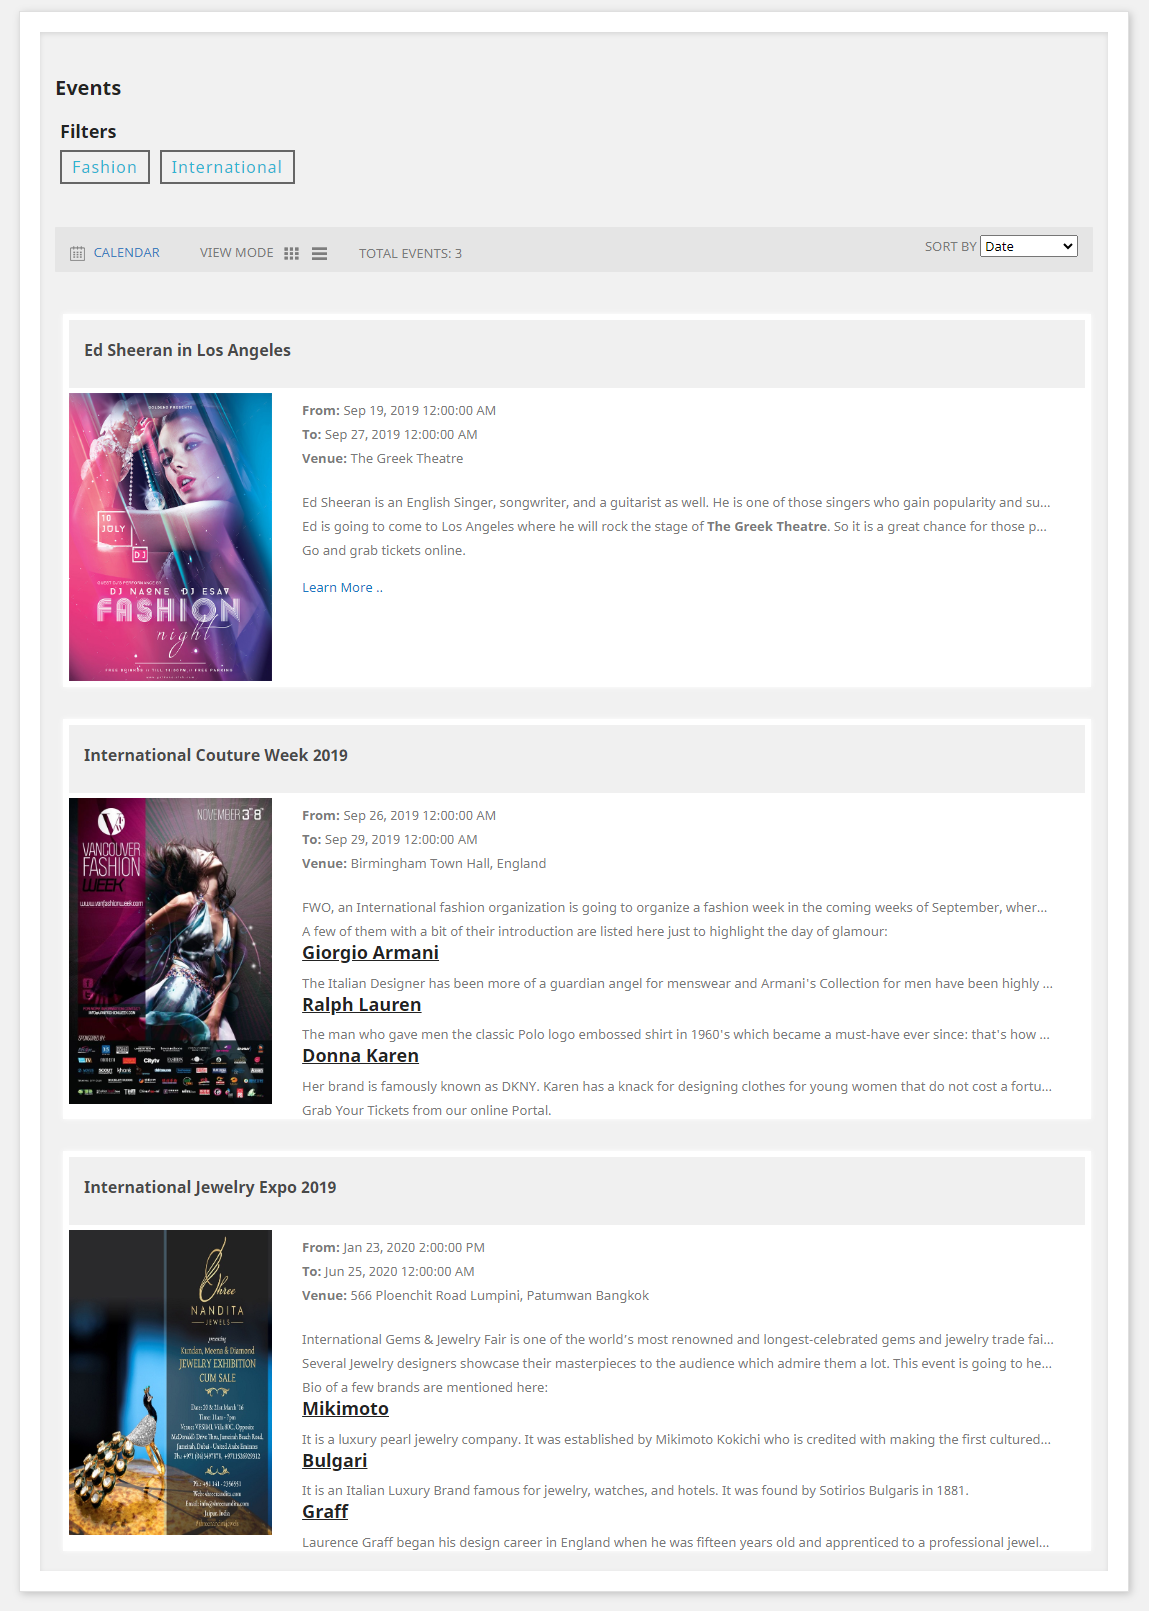
Step 13: By clicking on each event, you can view the details that include the event description, image, video, venue, image gallery etc.
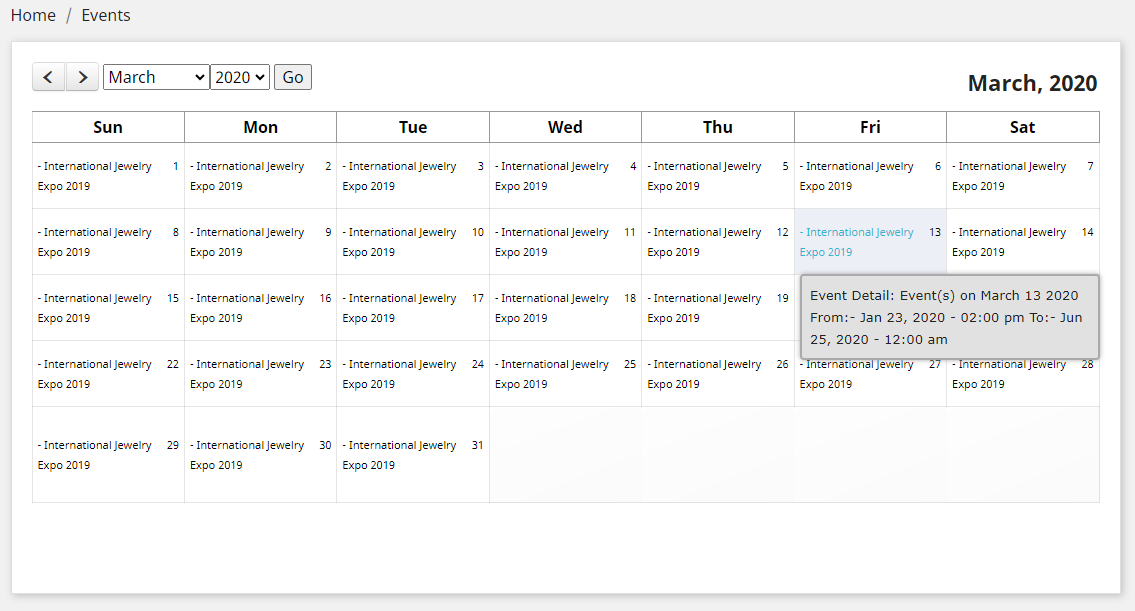
Step 14: Customers can view the events in a calendar by changing the view on the front end.
We hope, the above easy to follow steps will help you a lot in creating events and earning more out of them. You can have the events for a variety of reasons. It could be summer sales, clearance sales, inauguration of a new branch, launching products, or expanding the product lines. The end result would be an overwhelming exposure in the locality and across the borders, and a steep flow of revenues.