


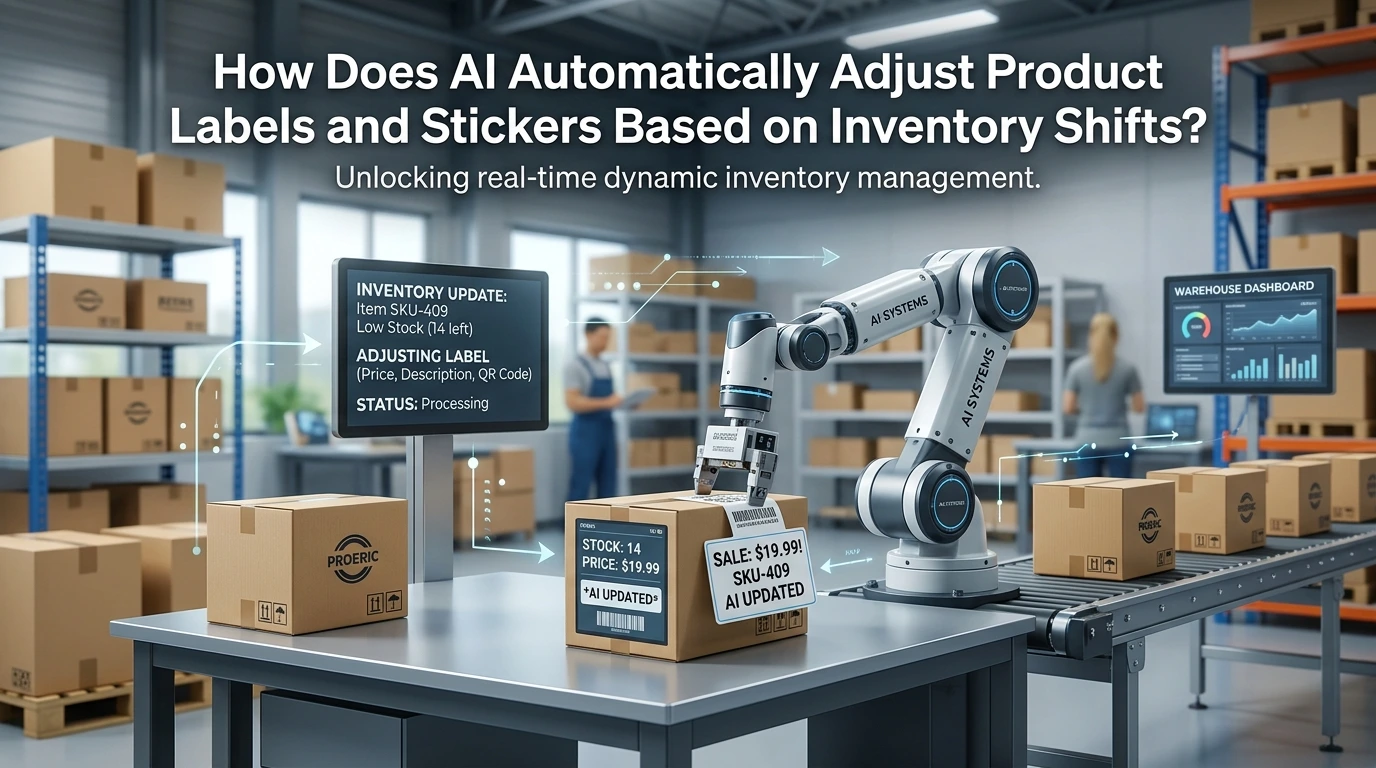
As inventory levels fluctuate, modern e-commerce and retail operations are turning to AI-driven dynamic labeling to eliminate manual re-tagging. By integrating real-time stock data directly with automated printing and display systems, businesses can update pricing, promo stickers, and product details instantly.
This intelligent automation minimizes costly human error, accelerates fulfillment, and ensures optimal pricing strategies across changing market conditions. Discover how AI-powered inventory tracking seamlessly syncs with automated labeling workflows to keep your stock accurate and consumer-ready.
Why Stock-Driven Labels Beat Static Stickers
Most stores still run labels the way they did years ago. A merchandiser spots a promotion, uploads a PNG that says "Sale", then forgets about it. Weeks later, the discount has ended, and the badge is still sitting on the thumbnail, quietly promising a price the customer will not get at checkout. That gap between what the label claims and what the catalogue actually contains erodes trust, generates support tickets, and trains repeat buyers to ignore your badges altogether.
Inventory-driven labels flip the relationship. Instead of you pushing a message onto a product, the product's own data triggers the message. Quantity crossing a threshold makes "Low stock" appear and disappear without anyone logging in. Sales velocity over a rolling window keeps "Best Seller" reflecting this month, not last winter. Price reduction detection means a "Reduced" sticker only shows while the discount is genuinely live, and catalogue position lets "New" expire on its own schedule rather than lingering for a season.
You write the rule once, and PrestaShop applies it across every matching product, category and language. On a catalogue of a few hundred references, manually checking which stickers are still accurate is a recurring chore that competes with actual buying and pricing work. Urgency cues also only work while they are credible, and the moment a shopper catches a store displaying a false scarcity signal, the cue backfires. Condition-based labels keep scarcity honest, which is precisely what makes them persuasive.
In short, you are moving labels from the design layer into the merchandising layer. They stop being decoration and become the storefront's fastest way of telling a visitor what deserves attention right now.
What You'll Need
Gather these before you start, because hunting for credentials mid-setup is the most common reason a label project stalls half-finished.
- Permissions: Administrator access to the PrestaShop back office, including the Modules and Advanced Parameters menus.
- Requirements: A working PrestaShop store with products, at least one category, and real stock quantities entered on those products.
- Software: The PrestaShop Labels and Product Stickers Module, and access to your server's CRON scheduler if you plan velocity-based rules.
- Estimated Time: 30 to 45 minutes for the plugin method, approximately 2 to 3 hours for the code method, including testing.
- Difficulty: Beginner for Method 1, intermediate to advanced for Method 2.
- Assets: Your brand colours as hex codes, and any logo files you want printed on a badge.
Why Automated Labels Matter More Than They Look
Stock quantity and demand velocity are the two most honest merchandising signals you have. They update themselves, they never get sentimental about a product, and they reflect what is actually happening in your warehouse rather than what a merchandiser assumed three weeks ago.
This matters commercially because buyers use scarcity and urgency as shortcuts when scanning a category grid. A well-timed "Low Stock" or "Almost Gone" badge does the persuading work that a static image cannot, and it does it only when the claim is true.
Automation also removes the operational drag. Nobody has to remember which promotion ended last Thursday, and nobody has to audit a grid of a few hundred products to find the badges that have gone stale.
In PrestaShop, install the PrestaShop Labels and Product Stickers Module, then create rules that target products by category, price or tag and attach stock or date conditions to each. If you need logic no module can anticipate, hook into actionUpdateQuantity and add a CRON job instead.
Prerequisites: Check Before You Start
- Access Level: SuperAdmin, or an employee account with module installation rights.
- Plugin or Version: PrestaShop 1.7 or 8.x; a staging copy if the live shop is trading.
- Estimated Time: 30 to 45 minutes for the plugin method.
- Database: A fresh backup, taken immediately before you install anything.
How To Automate PrestaShop Product Labels By Stock?
Start by installing the module, then build one label rule per merchandising signal you want to surface. The steps below follow that order.
Method 1: PrestaShop Labels & Product Stickers Module
The module gives you a rule builder inside your PrestaShop back office. Instead of drawing a badge in Photoshop and uploading it to every product edit page, you define the trigger once and let the label attach itself to whichever products match. Here is the full setup, from install to live rule.
Step 1: Install & Open the Module
Nothing downstream works until the module is registered and visible in your Modules list, so do this first.
Navigate to Modules -> Module Manager, then:
- Search for Labels and Product Stickers in the module search box.
- Click Install, then Configure once the confirmation appears.
- Confirm the module appears under Modules -> Module Manager with a green status.
You should now see the module's own configuration screen with its label and rule options.
Step 2: Create A Label Type
A label type defines what the badge looks like and what wording it carries. Reuse types across products so your storefront stays visually consistent.
Go to the module's label management area and select Add New Label. The core fields to fill in are:
- Label Name: An internal reference only you see, such as "Low Stock" or "Back in Stock".
- Label Text: The customer-facing wording, for example "Only a Few Left" or "Almost Gone".
- Text Colour and Background Colour are set individually so urgent badges read differently from routine ones.
- Logo: An image you can place on the label to match your brand or a campaign.
- Position: Which corner of the product image the sticker sits in.
- Status: Which must be enabled for the label to be available to a rule.
You should now see your new label listed in the label management table.
Step 3: Attach the Label To Products, Categories Or Tags
Rules need something to target. Assigning a label to a category or tag means new products inherit the badge automatically when they join that group.
In the label's assignment section, choose how broadly the label should apply:
- Products for a hand-picked list where you want tight control.
- Categories so every product in a department picks up the same badge.
- Tags are useful when a merchandising theme cuts across categories, such as a seasonal promotion.
You should now see the label's assignment count update to reflect how many products it currently touches.
Step 4: Set Stock & Price Conditions
This is where the label stops being decoration and starts reacting to inventory. Conditions let a badge appear when a product crosses a threshold you choose.
Open the conditions panel and define the trigger:
- Quantity sets a minimum and maximum range so the label shows only inside that band.
- Price restricts the badge to products above or below a value, handy for premium lines.
- Date Range gives a promotion a start and end so it retires itself.
You should now see a condition summary confirming the rules attached to this label. Set the quantity band slightly above your true reorder point, so the badge appears while you still have time to restock.
Step 5: Preview, Enable & Monitor
Rules that look correct in the back office can still collide on the storefront, so check before enabling.
- Use the module's Preview option on a product page to confirm placement and legibility against your theme.
- Switch Status to enabled once the label renders correctly at both desktop and mobile widths.
- Review the label list periodically and retire any badge whose promotion has ended.
You should now see live labels on qualifying product listings. Because roughly 3 out of every 4 people browse and buy through their smartphones, test the mobile view first, where a sticker can cover most of a narrow product tile.
If you also need shelf-ready shelf talkers or price tags for a physical location, the separate Print Labels Pro module handles print output, while this module handles what shoppers see on screen.
Method 2: Manual/Code Automation Using PrestaShop Hooks & SQL
If you have development resources in-house and want label logic that no module can anticipate, PrestaShop gives you two entry points: hooks that fire during catalogue events, and direct SQL against the product and stock tables. Both work, and both put the maintenance burden squarely on you.
This is the right path when your rules are genuinely bespoke, for example, when a label depends on a warehouse field you added yourself. For most merchants, the module route in Method 1 will be faster to launch and cheaper to maintain.
Step 1: Identify Which Hook Fires on the Event You Care About
PrestaShop dispatches hook events whenever product data changes, and this is where your label logic attaches. The most common entry point is action-ProductUpdate, which fires after a product is saved in the Back Office.
That hook covers manual edits, not automatic stock movements. When a customer completes a checkout and stock decreases, action-UpdateQuantity is the event you want instead. Order state changes fire their own hooks, which matters if you want a label that responds to demand rather than raw quantity.
- Action-ProductUpdate for saving product changes in the Back Office catalogue.
- Action-UpdateQuantity for stock movements such as orders, returns and manual adjustments.
- Action-Product Save for newly created products that need an initial label state.
You should now see your hook fire in your logs each time the matching event occurs in your shop.
Step 2: Write The Condition Logic and Assign The Label
Decide the thresholds first, in plain language, then translate them into code. Demand velocity needs a time window, so store the timestamp of the last relevant change alongside the quantity; otherwise, a fast-moving product and a slow one look identical at the moment you check.
Your condition block reads the current stock value and the stored timestamp, then decides whether a label applies. To attach the label, write the label identifier to the product's own data record rather than hard-coding it into your theme template.
Storing the flag at product level means the theme simply reads it and renders whatever badge you have styled. If you later change the styling, you change one template file instead of editing conditions in dozens of places.
You should now see the label flag changing on products as stock crosses your thresholds.
Step 3: Build A CRON Job For Velocity-Based Rules
Stock-driven hooks alone cannot measure demand velocity, because velocity is a rate rather than a single value. A scheduled job gives you a clean point in time to compare twice.
Register a CRON task that runs on a fixed interval and queries the product, stock and order tables for units sold since the previous run. Divide that figure by the elapsed hours to get your rate, then compare it against your threshold.
A practical approach is to flag the top movers on a rolling window, so a product that sells quickly for a few days earns a label and loses it once the pace drops. Products hovering near your threshold will flip back and forth, so add a small buffer or require the condition to hold for two consecutive runs.
You should now see labels appearing on genuinely fast-moving products, not just the ones with the lowest quantities.
Step 4: Set Up A Reversible Rollback Path
Automated changes to live product data need an undo. Before you enable the CRON job on your production shop, decide exactly how you will remove every label the script has written.
Keep a record of which labels the automation applied and when, so you can reverse them without touching labels you added manually. Test the whole loop on a staging copy of your shop first, with your real product data restored into it.
You should now see labels being applied and cleanly removed on your staging shop before any of it reaches live customers.
Step 5: Decide Whether The Code Route Still Fits
Custom code gives you total control and zero interface. It also gives you no admin screen, no filter builder, and no easy way for a colleague to adjust a rule without a developer. Every new merchandising idea becomes a ticket.
That trade-off is worth naming honestly before you commit, because the cost is not the first build; it is the tenth change. If your merchandising team rotates or your promotions change often, the maintenance overhead will outgrow the flexibility you gained.
You should now have a clear picture of which route your team can actually sustain.
Troubleshooting: When Your Dynamic Labels Stop Updating
Automated labels fail quietly. A sticker simply keeps showing "Last Few Left" weeks after the shelf was restocked, and nobody notices until a customer complains. Most of these failures come down to a few common causes, and each one has a specific fix.
Labels Stay Frozen After Stock Changes
The usual cause is that the rule is reading a cached product object rather than the live quantity. PrestaShop caches product data aggressively, so a label condition evaluated on page render can lag behind the real quantity field in the database.
- Clear the PrestaShop cache from Advanced Parameters, then Performance, and test again on the storefront rather than the back office.
- Check whether your hosting layer (Varnish, Cloudflare, or a server-side page cache) is serving a stale HTML copy. Exclude product pages from full-page caching, or shorten the TTL.
- If the label still lags, confirm the rule is bound to stock movement events rather than a manual refresh, so it recalculates when an order or a stock adjustment is saved.
Once the cache is excluded, stock-driven labels should visibly change within the same request cycle as the quantity update.
Rules Fire on The Wrong Products
A label that lands on the wrong category or an excluded tag almost always means the filter logic is too broad. A rule using the quantity band from Step 4 with no category restriction will happily stamp a low-stock badge on a digital download or a made-to-order item that was never meant to carry it.
- Narrow each rule with an explicit category, price band, or tag filter instead of relying on store-wide defaults.
- Check rule priority: when two labels match the same product, the lower-priority one silently loses, which can look like a rule that never fired.
- Audit combination products separately. A parent SKU at zero stock can still show combinations that are available, so the badge may be technically correct but commercially misleading.
A label rule is only as precise as its exclusion list, so test each new rule against a handful of products that should never match it.
The Scheduled Job Never Runs
If your automation depends on a scheduled task, a missing or misconfigured CRON entry is the first thing to check. PrestaShop's own cron tasks live under Advanced Parameters then Administration, and they only fire if the server is actually calling the cron URL. Confirm the task appears in the list, then verify with your host that the URL is being requested on schedule. A module with its own cron controller needs the same treatment.
If the timestamps in the task list never advance, the job is not running at all, regardless of what the module's settings page claims.
Thresholds Conflict with Demand Velocity
Two rules using the same threshold will fight each other. A "New" badge that expires by date and a "Back in stock" badge triggered by quantity can both match one product on the same morning. Decide which signal wins, then set that rule to a higher priority. Keep thresholds distinct, for example, a low-stock warning at one quantity and a clear-out label at another, so no product can satisfy two conditions at once.
Take Away
You have set up PrestaShop labels that respond to your catalogue rather than to someone's memory, so a badge appears when stock tightens and retires itself when the promotion ends. The result is a storefront that tells shoppers what genuinely deserves attention today, without a merchandiser auditing sticker accuracy every Monday morning.
If you have not installed the rule engine yet, start with the PrestaShop Labels and Product Stickers Module and build your first two labels this week using the category, price and tag filters covered in Step 3.
Sign in to comment