


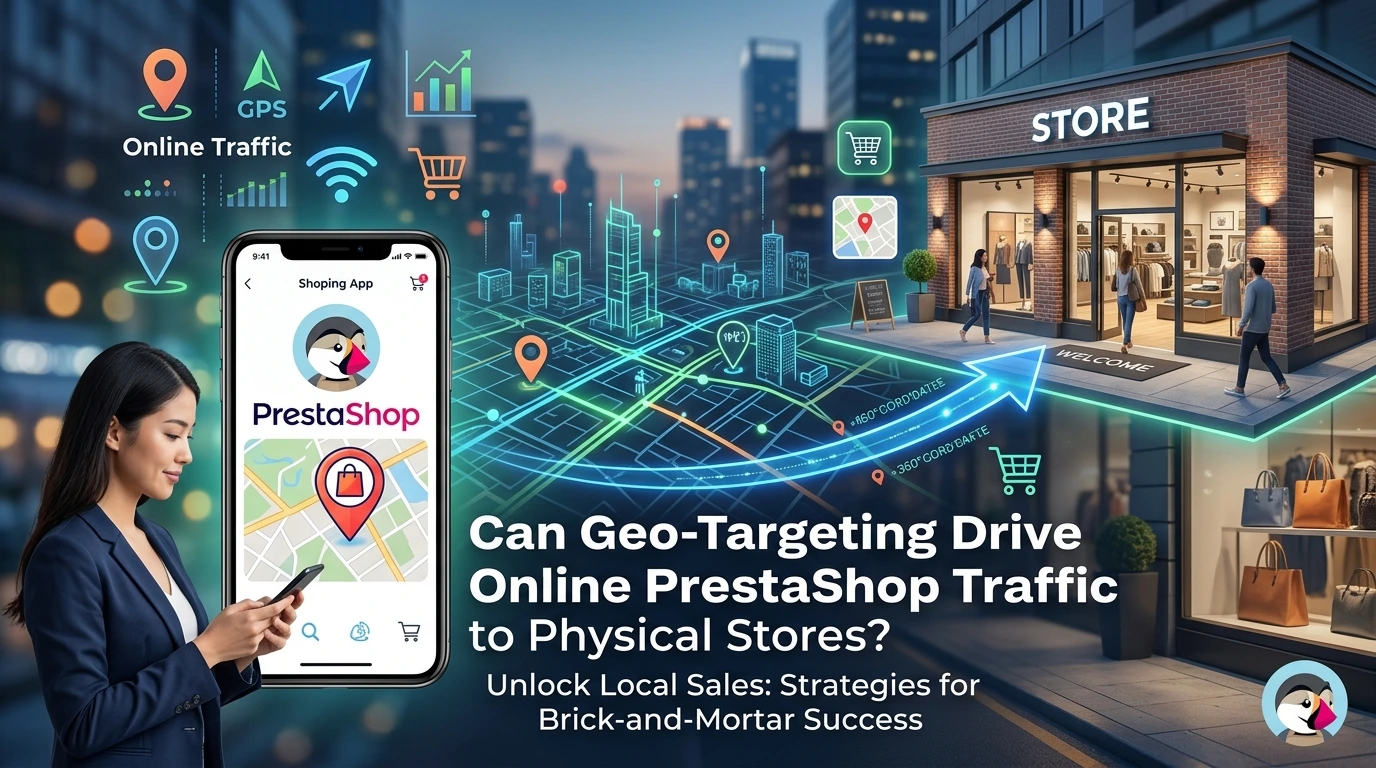
In today’s competitive e-commerce landscape, brick-and-mortar retailers often struggle to turn their website visitors into actual foot traffic. However, geo-targeting offers a powerful solution by delivering localized content, targeted promotions, and real-time inventory updates directly to nearby shoppers. By bridging the digital and physical customer journeys, e-commerce businesses can effectively transform online engagement into in-store visits.
PrestaShop provides a highly customizable framework that allows store owners to integrate advanced location-based modules with ease. Implementing these tools enables you to show local store availability, offer click-and-collect options, and send location-specific discounts that drive customers through your physical doors. In this article, we will explore the strategies and modules needed to leverage PrestaShop's geo-targeting capabilities for maximum foot traffic.
Why Geo-targeting Matters for Driving PrestaShop Visitors into Your Shops
Geo-targeting in PrestaShop lets you detect a visitor's location via IP or other signals and then adapt the experience, showing your nearest physical store's address, hours, directions, and even local offers. You can set this up using a dedicated geolocation module (like PrestaShop's own Geolocation feature or third-party plugins) or by manually adding a script that reads the IP and redirects or displays local info. The goal is to turn anonymous online shoppers into foot traffic by making your store's local relevance clear.
For retailers running both an online store and physical points of sale, geo-targeting is the missing bridge between the two. A customer in Manchester who lands on your site and immediately sees your Manchester branch, its opening times, and a click-to-navigate button is far more likely to visit than one who must hunt through a store locator page. When your website speaks in local terms, it stops being a catalogue and starts being a doorway to your nearest till.
The practical payoffs can be seen in daily operations:
- Higher footfall conversion. Visitors who see local store details are making a location-based decision, not just a browsing one. You shorten the gap between "where is your shop?" and "I am outside it."
- Local offers that actually land. A promotion for your Birmingham store is noise to someone in Bristol. Geo-targeting lets you serve the right regional message to the right visitor, which lifts both click-through and in-store redemption rates.
- Reduced friction for multi-location retailers. If you run several branches, a single PrestaShop installation can present each visitor with their nearest store automatically, removing the manual "choose your location" step that loses impatient shoppers.
- Better local search relevance. When your pages reflect the searcher's area, your content aligns with local intent signals, which helps you rank for queries like "furniture store near me" alongside your paid and social efforts.
Geo-targeting also strengthens your other local conversion tools. A PrestaShop Store Pickup module becomes more compelling when the visitor already knows which branch they are dealing with, and pairing location data with your existing modules creates a coherent path from first click to physical collection.
Every online visitor who lives near one of your shops is a potential same-day customer. Geo-targeting ensures they know it.
Method 1: Geo-Locating Your Customers with A Dedicated Module
Geo-targeting on PrestaShop works best when it happens automatically, at the moment a visitor lands on your site. A dedicated module reads the visitor's IP address, identifies their approximate location, and serves them store information relevant to that area. This method uses PrestaShop's built-in Geolocation feature combined with a store locator setup.
Step 1: Enable PrestaShop's Geolocation Feature
PrestaShop ships with a native geolocation tool, so you do not need to touch code for the core detection. Navigate to Preferences -> Geolocation in your PrestaShop back office. Then:
- Set the Geolocation by IP address switch to Yes. This allows PrestaShop to detect the country and region of each visitor based on their IP.
- Choose the database used for IP lookups in the field provided. PrestaShop uses a GeoIP database, which you may need to refresh periodically to keep location data accurate.
- Select a default country for visitors whose location cannot be determined. Choose your primary trading country so undetected visitors still see relevant local information.
- Decide whether to restrict access by country. If you sell physical goods only within specific regions, enable this and tick the allowed countries. If you want to keep browsing open, leave it disabled.
You should now see a map or list of countries on the geolocation settings page, confirming that IP detection is active for your store.
Step 2: Add A Store Locator Module
Geolocation tells you where the customer is, but it does not tell them where you are. A store locator bridges that gap by displaying your physical branches and their distances from the visitor's detected location.
Choose a store locator module from the PrestaShop Addons marketplace or a trusted third-party developer. Look for one that supports the following:
- Bulk import of store addresses from a CSV file, so you can upload your full branch list in one go rather than adding each store manually.
- Distance calculation based on the visitor's geolocated position, with results sorted from nearest to farthest.
- Directions links that open Google Maps or another navigation app with the route pre-filled.
- Opening hours and contact details displayed alongside each store entry.
Step 3: Configure Store Details and Hours
A store locator is only useful if the information it holds is accurate. Incomplete addresses or outdated opening hours will send customers on a wasted trip, which damages trust in both your online and physical presence.
Open your module's configuration page and complete the following for every branch:
- Store name entered exactly as it appears on your signage so customers recognise the building when they arrive.
- Street address, city, and postcode entered in full. Partial addresses produce inaccurate map pins.
- Latitude and longitude coordinates if the module requires them. Use a tool like Google Maps to find precise coordinates for each branch.
- Phone number and email for each location, so customers can call ahead to check stock or reserve items.
- Opening hours, including any variations for weekends, bank holidays, or seasonal trading.
Step 4: Display the Nearest Store to Each Visitor
Detection and a store list are both passive. The final step makes geo-targeting active by surfacing the nearest branch to each visitor without them having to search for it.
Depending on your chosen module, enable the feature that automatically highlights the closest store based on the visitor's IP location. This usually involves:
- Turning on the Auto-detect Visitor Location option in the module settings.
- Selecting a Display Style for the nearest store, such as a highlighted card at the top of the list or a prominent map pin.
- Adding a Directions Button that opens the route in Google Maps with one click.
- Choosing whether to show the distance in Miles or Kilometres matching the convention used in your trading region.
Step 5: Test Location Detection Across Regions
Geo-targeting fails silently when the underlying detection returns wrong results. A visitor in Manchester seeing your London branch as their nearest store will assume your system is broken and leave. Run through the following checks before you go live:
- Visit your store from a device on mobile data rather than home Wi-Fi, or use a VPN set to a different city, to simulate a visitor in another region.
- Confirm that the nearest store shown matches your test location, and that the distance displayed is realistic.
- Click the Directions Button and verify that the route opens in Google Maps with the correct destination address.
- Check the store locator on a smartphone, since a large share of local searches happen on mobile devices.
Once geo-targeting is live, pair it with a store pickup module so customers can reserve online and collect in person. For branches that rely on phone enquiries, a WhatsApp order and chat module lets nearby customers message the store directly from the locator page.
Method 2: Manual IP Geolocation with a Simple Script
If you prefer to keep your module count low, you can redirect or tailor content using a lightweight IP geolocation service. This approach requires a small PHP snippet added to your PrestaShop theme, plus an account with a lookup provider. The most common free route is MaxMind's GeoIP2 database, which maps visitor IP addresses to country and city.
- Backup your theme files before changing anything. Copy the entire
themesdirectory to your local machine or a staging environment. A single syntax error can break your front office, so a restore point is non-negotiable. - Download the GeoIP2 database from MaxMind and upload the folder to your server, typically under
/var/www/html/geoipor a similar path. Keep it outside the web root if possible, so visitors cannot download it directly. - Create your lookup script in a file called
geo-locate.php. The script calls the GeoIP2 library, reads the visitor's IP address, and returns the country code. Test it standalone before touching your theme.
Here is a minimal example. It assumes you have installed the GeoIP2 PHP library via Composer:
require_once 'vendor/autoload.php';
use GeoIp2\Database\Reader;

$reader = new Reader('/path/to/GeoLite2-Country.mmdb');
$record = $reader->country($_SERVER['REMOTE_ADDR']);
$countryCode = $record->country->isoCode;
The snippet above returns a two-letter code such as GB, FR, or DE. You store that code in a PHP variable and then decide what your store should do with it. Common actions include showing a different banner, displaying the nearest store address, or prompting the visitor to switch to a regional version of the site.
Warning: MaxMind's free GeoLite2 database requires a licence key and periodic downloads to stay current. The paid GeoIP2 version updates automatically, but at a cost. Factor this maintenance into your decision.
To put the code to work, open themes/your_theme/header.tpl or footer.tpl and wrap your content in an if statement. For example, to show a banner only to UK visitors:
{if $countryCode == 'GB'}
{/if}
That conditional relies on assigning the country code to a Smarty variable earlier in the page lifecycle. A more robust route for non-developers is to use a module that handles redirection automatically, such as the PrestaShop Product Slider alongside a dedicated geolocation module, so you skip the script maintenance entirely.
This module transforms your online store into a visual delight, enabling admins to showcase products through customisable, responsive carousels. By strategically placing these sliders on the home, category, or product pages, admins can effectively highlight best-sellers, promotions, or new arrivals, capturing customer attention and driving sales.
Test your script thoroughly with a VPN or proxy service set to different countries. Verify that the correct content appears for each location and that visitors outside your target regions see the default experience. Also confirm no PHP errors appear in your server logs, since errors in header.tpl can block the entire page from loading.
Troubleshooting: Why Your Geo-targeting Isn't Showing the Right Store
Geo-targeting fails more often than it should, and the cause is rarely the module itself. When a visitor in Manchester sees your London storefront, work through these four common culprits before assuming the configuration is wrong.
If visitors see the wrong location after they have already browsed the site
Most PrestaShop setups combine geo-location with cached pages, and the cache does not always refresh when a new visitor arrives. The customer's first visit may have been cached from a previous session or from a shared IP address.
- Fix: Purge your cache after every change to geo-targeting rules.
- Fix: Test in a private or incognito browser window so no session data interferes.
- Fix: Ask a colleague on a different network to test from their own connection.
If the issue only appears on mobile, check whether your hosting provider or a content delivery network is serving cached versions to mobile users specifically.
If a customer's IP address points to the wrong city or region
IP geolocation databases are accurate at country level but far less reliable for precise city mapping. Corporate networks, VPNs, and mobile carriers frequently route traffic through servers in another city entirely, so the location data you receive is simply wrong at the source.
- Fix: Add a manual store-selection fallback so customers can override the detected location.
- Fix: Use a postcode or delivery-address check at checkout as a secondary confirmation.
Never treat IP data as a guarantee of physical location. Treat it as a strong signal that the customer can correct.
If GDPR cookie consent blocks the geo-detection script
In the UK and EU, location scripts that run before cookie consent is granted can be blocked entirely. If your consent banner loads in a different order than the geo-location script, the detection never fires.
- Fix: Configure your consent manager to load the geo-script only after the visitor accepts non-essential cookies.
- Fix: Alternatively, use server-side geolocation on the first request so no client-side script is required before consent.
Remember that refusing cookies is a legitimate choice. Always pair geo-targeting with a visible manual store selector to respect user preference while still guiding foot traffic.
If another module overrides or conflicts with your geo-targeting rules
Currency switchers, language selectors, and store-locator modules often write their own cookies or redirect rules. When two modules try to control the same redirect, the one that loads last usually wins, regardless of your intended behaviour.
- Fix: Disable other location-based modules one at a time and retest after each disable.
- Fix: Check your module list in PrestaShop's Advanced Parameters area for any tool that sets its own country cookie.
Once you identify the conflicting module, adjust its settings so it defers to your geo-targeting rules rather than fighting them. This is normally a case of turning off its automatic redirect option while keeping its other features active.
Why Geo-Targeting PrestaShop Matters
Most PrestaShop stores still treat their website and physical shop as separate worlds. A customer browses your catalogue online, then wanders into a competitor's store because they never knew yours was ten minutes away. Geo-targeting closes that gap by tailoring what each visitor sees based on where they actually are.
When you serve location-specific content, you stop competing purely on price. Instead, you convert online browsing into physical footfall by showing store opening hours, local promotions, and a clear route to your door. For retailers with one shop or a dozen, this turns your website into a reliable store-visit engine rather than just a product catalogue.
The Bridge Between Digital and Physical Retail
Every hour a visitor spends comparing products online is an opportunity to move them toward your physical store. When a customer searches for a product and finds your site, then learns your local branch stocks it and can reserve it for collection, the distance between screen and shop shrinks dramatically.
It works because it respects the customer's context. Someone in Manchester searching on their phone at 4:30 pm is likely deciding where to shop after work. Showing them your Manchester branch, its closing time, and current stock levels answers the question they haven't even asked yet. The result is happier local customers and reduced reliance on expensive national advertising that may not drive anyone through your doors.
How to Drive Local Store Visits with Geo-Targeting in PrestaShop?
Setting up effective geo-targeting involves configuring PrestaShop's native geolocation features alongside modules that present location-specific information to your visitors. The core steps remain consistent whether you run a single boutique or a national chain.
The Product Slider module by FME Modules is a game-changer for e-commerce stores, transforming your homepage into a dynamic showcase that can reflect what matters most to local shoppers. When you pair it with PrestaShop's geolocation features, you create a storefront experience that feels personally tailored to each visitor's region.
The module lets you build responsive carousels that highlight specific product collections. For a retailer with physical locations, this means you can promote the items most relevant to nearby customers, such as seasonal stock suited to your local climate or products featured in your store window display. As one of the standout options among Prestashop Pluginsit places these promotions prominently, increasing the chance that someone browsing online will visit to see the items in person.
Step 1: Install and Activate the Product Slider Module
Before you can showcase local products effectively, the slider module must be installed and running on your PrestaShop store. Navigate to Modules -> Module Manager in your PrestaShop admin panel. From there:
- Click Upload a module and select the downloaded slider module file, or locate it under the Installed modules tab if already added
- Click Install and wait for the confirmation message
- Click Configure to open the module settings page where you will build your first carousel
You should now see the module configuration panel with options to create product sliders for any page on your store.
Step 2: Create a Carousel Featuring Local Store Products
With the module active, your next task is building a carousel that showcases products relevant to the foot traffic you want to attract. The goal is to feature items that give visitors a reason to visit your physical store, such as exclusive in-store ranges or fast-selling local favourites.
Within the module configuration, click New Slider or the equivalent creation button. You will need to set:
- Slider Title an internal name so you can identify this carousel in your module list
- Slider Type choosing between product, category, or image-based displays depending on what you want to promote
- Selection Method which determines whether you pick individual products, pull from a specific category, or feature items marked as best-sellers
- Display Position selecting homepage, category pages, or product pages where the carousel appears
- Number of Products controlling how many items show at once before the carousel scrolls
Step 3: Optimise Slider Placement for Local Traffic
High visibility matters when you want online shoppers to notice the products you stock in-store. The position of your carousel can be the difference between a visitor discovering your local range or leaving for a competitor.
Consider placing your store-promotion slider on the homepage above the fold and on category pages for your most popular product lines. The module lets you assign carousels to multiple hook positions:
- Display on Homepage to capture all visitors arriving at your domain
- Display on Category Pages to show related store stock when someone browses specific product types
- Display on Product Pages to suggest additional in-store items alongside what the visitor is already viewing
Step 4: Pair the Slider with Store Location Information
Showing products is only half the journey; visitors also need to know where they can find them. Combining your product slider with store location data creates a seamless path from online discovery to in-store visit, and for building your subscriber base alongside these efforts, a module like Prestashop Advance Newsletter can help you capture local interest through targeted email campaigns.
Conclusion
By implementing geo-targeting in PrestaShop, you can effortlessly turn your online web traffic into measurable physical store sales. Tailoring product displays, local inventory, and location-specific offers to nearby visitors bridges the gap between digital browsing and in-store purchases. By putting these strategies and modules to work today, you ensure your e-commerce platform actively grows your brick-and-mortar business.