


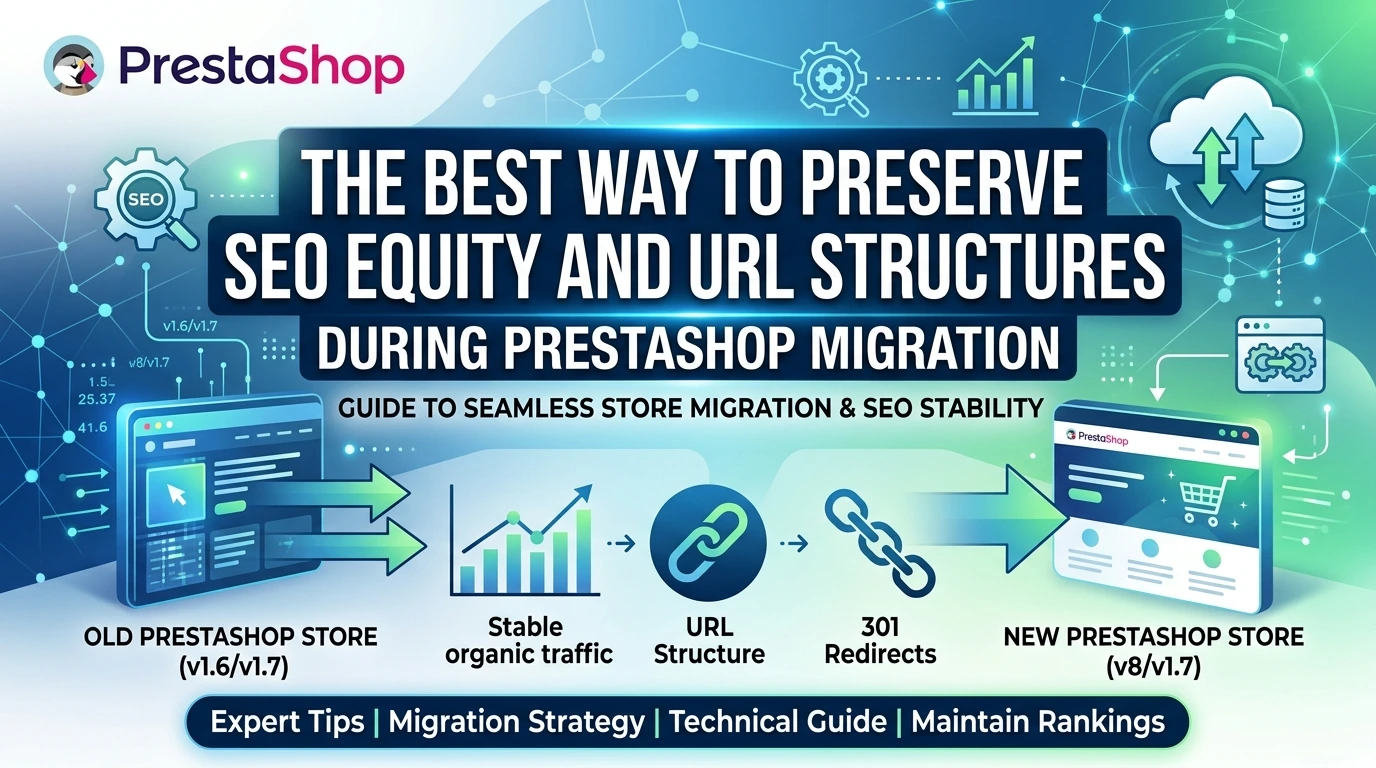
A PrestaShop upgrade can bring better performance, security, and features, but it can also put your existing SEO rankings at risk. Changes to URLs, modules, metadata, and site architecture can quickly lead to lost organic traffic.
The key is to treat the upgrade as an SEO migration rather than a routine software update. By auditing your current site, mapping URLs, setting up 301 redirects, and monitoring performance after launch, you can protect the SEO equity you have already built.
How to Protect SEO Equity During a PrestaShop Upgrade
To preserve SEO equity during a PrestaShop upgrade SEO project, you must treat the upgrade as a full site migration. Before switching, crawl your current site to capture all URLs, map each to the new URL structure, and set up 301 redirects from old to new paths. After the upgrade, validate that redirects work, update internal links, resubmit your XML sitemap in Google Search Console, and monitor rankings and crawl errors for at least 60 days. This method ensures search engines transfer link equity to your new URLs and avoids abrupt traffic drops.
The mistake most stores make is treating a major version bump as a routine software update. When you move from an older PrestaShop branch to a newer major version, the underlying architecture changes, and so can your URL patterns. Product pages, category pages, and CMS pages may resolve to different paths, and every changed URL carries the risk of losing the authority your store spent years building.
Real-world migration data shows how brutal the downside can be. One store owner reported their site dropped almost 75% after a move, and only recovered to pre-migration traffic roughly six weeks later, according to a Google Search Console help thread.
Three specific risks dominate a PrestaShop major upgrade:
- URL changes. Friendly URL settings, rewritten routes, and new default patterns can change the canonical path of your key pages.
- Module conflicts. Third-party modules, including SEO-focused PrestaShop modules, may not be compatible with the new version, breaking meta tags, structured data, or canonical tags.
- Loss of internal link juice. If your navigation, footer links, or related-product blocks point to outdated paths after the switch, you bleed PageRank across the whole store.
This is why the risk-management playbook matters more than the technical upgrade itself. PrestaShop holds a 0.75% share of the ecommerce platform market and ranks 7th among tracked solutions, with 78,000 domains having historically used the platform.
What You'll Need
Before you begin, gather the following prerequisites. Having everything in place before you start prevents mid-project delays and reduces the risk of errors.
- Back Office access: Administrator credentials for your PrestaShop store, including permission to access Shop Parameters and Modules sections.
- Server or hosting access: FTP or file manager access to your web root, plus SSH if you plan to edit .htaccess directly.
- Crawling tool: Screaming Frog, Sitebulb, or any crawler that exports to CSV format.
- Google Search Console access: Verified ownership of your domain property to export performance data and submit sitemaps.
- Staging environment: A test copy of your store where you can rehearse the upgrade without affecting live traffic.
- Time required: 2-3 days for a typical store, including audit, mapping, upgrade execution, and post-launch monitoring.
- Difficulty: Intermediate to advanced. Comfort with spreadsheets, server files, and basic SEO concepts is expected.
Pre-Upgrade Audit: Capture Every URL and Meta Tag
Before touching a single file, you need a complete picture of what exists right now. The audit is your baseline: without it, you cannot measure what the upgrade broke or fixed. This step takes an afternoon but saves weeks of recovery later.
Think of the audit as taking a photograph of a room before you rearrange the furniture. You need to know where everything sits, what it looks like, and how it connects to everything else. Only then can you put it back correctly, or deliberately move it somewhere better.
Step 1: Crawl Your Live Site
Why: A crawler mimics Googlebot and shows you exactly what search engines can see, including URLs, status codes, and metadata. This gives you your URL inventory in one pass.
Run a full crawl of your production domain, not a staging copy. You want the live state that search engines currently index. Configure the crawl to capture:
- All URLs, including product pages, category pages, CMS pages, and manufacturer pages
- HTTP status codes (200, 301, 404, 410) for every URL
- Meta titles and meta descriptions for every page
- Canonical tags and hreflang annotations if you operate in multiple languages
- Internal link counts, so you know which pages carry the most linking weight
Tools like Screaming Frog or Sitebulb handle this well, but any crawler that exports to CSV or Excel works. You should now see a complete, exportable list of every crawlable URL on your site.
Step 2: Export and Structure the Data
Why: A raw crawl export is unwieldy. Structuring it into a working document turns it into a reference you will consult throughout the upgrade.
Export the crawl results and build a spreadsheet with one row per URL. Create columns for:
- Full URL path
- Page type (product, category, CMS, manufacturer, other)
- Current meta title
- Current meta description
- Word count of on-page content
- Number of internal links pointing to the URL
- Estimated organic value (from Google Search Console or analytics)
Sort by organic value, highest first. These are your priority URLs, the ones that must survive the upgrade intact. You should now see a prioritised inventory that tells you exactly which pages matter most.
Step 3: Snapshot Google Search Console and Analytics
Why: Your crawl shows what exists, but Search Console shows what Google actually values. The two lists rarely match perfectly, and the gaps are where you lose equity.
From Google Search Console, export your performance data for the last 90 days, including queries, impressions, clicks, and average position. From Google Analytics, export your top landing pages by sessions and revenue. Cross-reference these against your crawl export.
Flag any URL that appears in Search Console or Analytics but not in your crawl. These are orphaned pages or URLs Google has indexed that your crawler missed. They need attention before the upgrade.
You should now see three aligned datasets: crawled URLs, Search Console performance, and Analytics traffic. Together they form your complete pre-upgrade SEO baseline.
Industry data shows that traffic drops during platform migrations are common, but recoverable: one site reported being almost 75% down after a migration, then returning to its previous traffic level roughly six weeks later according to a Google Search Console support thread. The difference between a six-week recovery and a permanent loss usually comes down to how thoroughly this audit was done before the technical work began.
How to Map Old URLs to New Ones (and Handle Changing Parameters)
Think of URL mapping as a translation dictionary for your store. Every old address that has earned rankings, backlinks, or bookmarks needs a direct equivalent on the new version of your site. Without this map, search engines treat your new URLs as brand-new pages with zero authority, and the equity you built over years starts from scratch.
Start by exporting your complete URL list from the pre-upgrade audit. For each entry, record the old URL, the new URL, and the HTTP status code you will apply. A simple spreadsheet works well here, especially when you are managing hundreds or thousands of product and category pages.
Keep these mapping rules in mind:
- Category pages: Map every old category URL to its new counterpart. If a category has been renamed or reorganised, map it to the closest equivalent page rather than dropping it.
- Product pages: When a product ID changes during the upgrade, the URL often changes with it. Your map must capture every single product, even if the only difference is a trailing slash or a shifted ID number.
- Pagination parameters: PrestaShop uses parameters like
?page=2for paginated category listings. Decide whether to preserve these patterns or switch to a path-based structure such as/category/page-2, then map each pagination level explicitly.
Pay special attention to filter and sorting parameters, such as ?order=price.asc or ?q=Colour-Blue. If your new version generates different parameter names or formats, each variation needs its own 301 redirect. Industry data shows that a traffic drop lasting over three months is not normal and is almost certainly caused by broken 301 redirects, so a thorough map here prevents a slow bleed of organic visitors after launch.
Every URL you fail to map is a page you are willing to lose rankings for. Store owners often miss pagination and filter URLs because they never appear in a standard sitemap, yet these pages capture a meaningful share of long-tail organic traffic.
Once your map is complete, save it as a CSV file that your redirect management tool can import. Many PrestaShop hosting setups and migration modules accept this format directly, which reduces the chance of manual transcription errors. For complex stores, you may also want to keep a copy of the map in your project documentation so future developers understand why each redirect exists.
Setting Up 301 Redirects: Your .htaccess and PrestaShop Options
Old URLs that return a 404 tell Google your product pages no longer exist, which is the fastest way to drain hard-won authority. A 301 redirect passes most of that link equity to the new URL, signalling that the page simply moved. Without it, you force crawlers to rediscover your entire catalogue from scratch. One administrator on a Google forum described losing almost 75% of their traffic immediately after a move before it recovered over roughly six weeks, and working redirects were the difference between a temporary dip and a permanent collapse.
PrestaShop gives you two reliable places to manage these redirects. The first is your server's .htaccess file, which sits in your store's root directory and handles rules at the Apache level. The second is PrestaShop's own SEO & URLs page under Shop Parameters, where you can register individual URL changes. For a large catalogue, a well-structured .htaccess file is usually the cleaner approach because it keeps every rule in one place and loads without a database query.
- Back up your existing .htaccess file. Download a copy before touching anything so you can roll back in seconds if a rule misfires.
- Open the file via FTP or your hosting file manager. Look for the section marked with PrestaShop comments, where the framework manages its own rules.
- Add your redirect map above PrestaShop's own rules using the format
Redirect 301 /old-product.html https://www.yourstore.com/new-product. Place each rule on its own line. - Save and test immediately. Visit an old URL in an incognito browser and confirm it lands on the new page with a 301 status.
For stores on Nginx rather than Apache, the equivalent rules live in your server block configuration instead of .htaccess. Your hosting provider can confirm which server you run, and the same mapping logic applies in either case. Whichever method you choose, keep a dated copy of your redirect map so you can audit it later if traffic behaves unexpectedly.
Your redirect map is a contract with search engines, and broken promises here cost you rankings. A traffic drop lasting over three months is almost certainly the result of broken 301s, not a slow recovery, so treat this file as critical infrastructure rather than a convenience.
For merchants who prefer a visual interface, PrestaShop's SEO & URLs settings page lets you add individual redirects without touching server files. This works well for a handful of changed pages, but it becomes tedious for hundreds of URLs, which is why most store owners build a complete map in .htaccess first and reserve the PrestaShop interface for spot fixes discovered after launch.
Post-Upgrade Checks: How to Verify No SEO Equity Was Lost
Once the upgrade is live, the work shifts from execution to verification. The hours you spent mapping URLs and building 301s only matter if the redirects actually fire in production. Treat the first week after launch as an audit window, not a celebration period. A store that drops 75% in organic traffic can recover within six weeks if the redirects hold, as Google support threads show, but only when you catch problems early.
Step 1: Crawl Your Live Site and Compare Against Your Pre-Upgrade Snapshot
Your pre-upgrade audit gives you the baseline. Run a fresh crawl of the live store using your preferred crawling tool and export the full URL list. Compare the two exports side by side. Every old URL must either return a 200 with identical content or a 301 to its mapped replacement. Any URL returning a 404 that should redirect is a leak in your equity.
- Check the status code column for every URL in the old export.
- Flag any URL that returns 404, 500, or an unexpected 200.
- Verify that 301 targets match your mapping table exactly, including trailing slashes.
A mismatch here silently bleeds PageRank across your catalogue. A traffic drop, including one recorded at 49.75% after a Magento migration, almost always traces back to broken 301s when it persists beyond three months. Catch the breakage now, not in quarter four.
Step 2: Audit Your 404 Logs for Missed Mappings
Your server logs the requests that hit missing pages. Pull the 404 entries from the first 48 hours after launch and cross-reference them against your mapping table. Products, categories, and CMS pages you forgot to map will surface here quickly. Add the missing 301s immediately; every day a page returns 404 is a day its inbound links lose value.
- Export 404 log entries filtered to HTML pages, not images or scripts.
- Sort by request count to prioritise high-traffic URLs.
- Add any missing redirects to your .htaccess file or the PrestaShop redirect tool.
You should now see a shrinking 404 count on day two compared to day one. If the numbers climb instead, your redirect syntax has a structural problem, and you need to revisit the pattern rules you wrote during the mapping phase.
Step 3: Verify Meta Titles, Descriptions, and Canonicals on Priority Pages
Meta data and canonical tags do not get checked by a crawl alone. Open a representative sample of your highest-traffic product, category, and CMS pages directly in the browser or via a rendering tool. Confirm that the title tags, meta descriptions, and canonical URLs match what you captured in your pre-upgrade audit.
- Spot-check at least 20 pages, weighted toward your top 10 revenue producers.
- Verify that PrestaShop did not append default values to any meta fields left blank.
- Confirm canonicals point to the canonical version, not a duplicate URL with tracking parameters.
A PrestaShop upgrade can reset theme-level meta templates or leave fields empty where your old theme injected them automatically. The canonical tag matters most: if it points at a parameterised URL or a staging domain, search engines will ignore your 301s entirely and consolidate equity on the wrong address.
You should now see clean, consistent meta data across your sample set with no default placeholders or staging-domain canonicals. Log any discrepancies and fix them in the Back Office before the next crawl cycle completes.
Monitoring and Recovery: What to Do If Rankings Drop
Search Console becomes your control centre in the weeks after a PrestaShop upgrade. Watch the Performance report weekly, not just for impressions and clicks, but for the pages that lose positions. A sudden drop on one URL signals a broken redirect or a missing canonical, while a site-wide decline usually points to something structural like a blocked robots.txt or a full-page template error.
Track your crawl stats and index coverage daily for the first fortnight. Pay attention to pages that move from "Indexed" to "Crawled, currently not indexed", because these often relate to duplicated metadata you filtered out during the pre-upgrade audit. Also set a regular export of your sitemap from PrestaShop, and confirm the XML file lists the same URLs it did before. For most stores, these checks take ten minutes a day and catch problems before they compound.
If you do see a drop, resist the urge to panic. Diagnose the cause before you touch any configuration, because a wrong redirect is worse than no redirect at all. Check the specific pages that lost traffic, confirm their 301s point to the exact final URL, and clear PrestaShop's cache after every change. Test a handful of URLs in an incognito window or with a crawler tool like Screaming Frog to verify server responses. Store owners who act methodically, rather than reactively, typically restore their pre-upgrade visibility within weeks.
Real-world cases show that recovery is often a matter of patience. One site owner reported their traffic dropped by roughly -75% immediately after a migration, but week-over-week pickup meant that about six weeks later, traffic was back to its previous level. In contrast, a traffic drop lasting over three months is not normal, and the root cause is almost certainly broken 301 redirects. If you still see losses after six weeks with correct redirects, revisit your internal links and any URL parameters that changed.
When something feels beyond your setup, PrestaShop's developer documentation and its partner ecosystem, including modules from specialists like FME Modules, can help you isolate the issue. You can also ask Google's Search Console community forums, where site owners and Google staff frequently troubleshoot migration problems. Always keep a backup of your old .htaccess and your pre-upgrade database, so you can verify that every rule still matches what you set up in the redirect mapping stage.
Conclusion
Protecting your SEO equity during a PrestaShop upgrade comes down to preparation, execution, and verification. You now have a complete playbook: capture your baseline, map every URL, redirect correctly, and monitor obsessively until traffic stabilises. Upgrades do not have to cost you rankings, and with this process, they should not.
For the most reliable results, use PrestaShop-specific SEO modules from FME Modules to automate redirect management and metadata preservation, and keep a documented rollback plan in place before you switch over.
Sign in to comment