


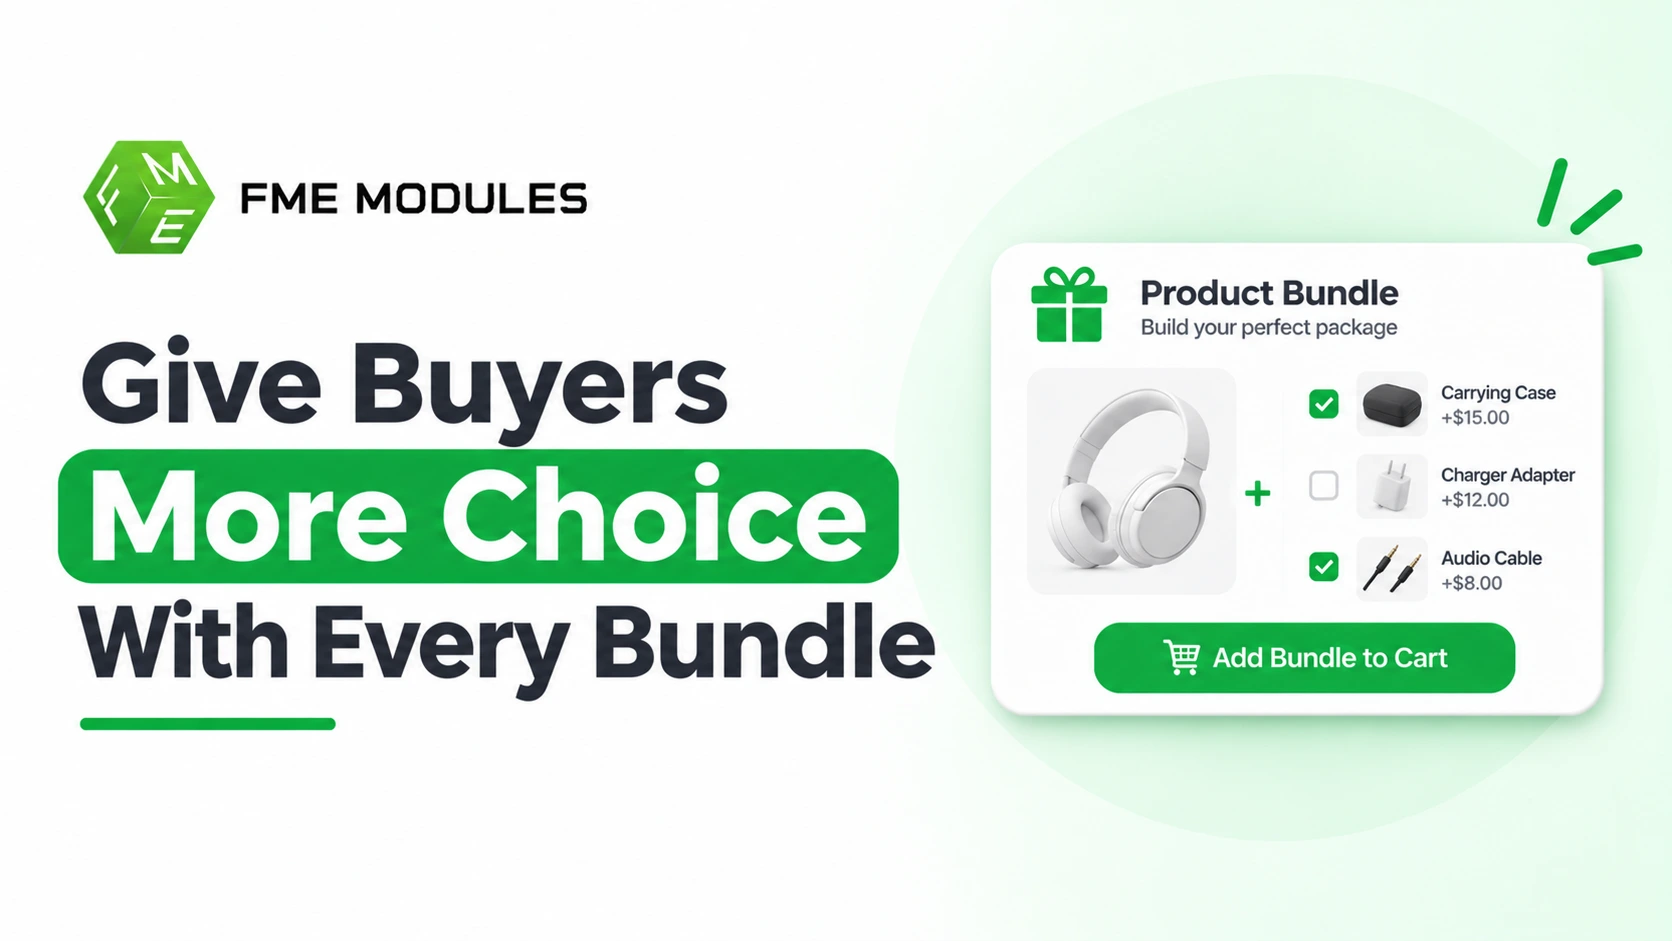
PrestaShop's native pack of products only builds fixed bundles, so every item inside is mandatory, and the shopper cannot drop an add-on at checkout. To offer optional items, you either use a bundle-builder module that lets customers toggle extras, or simulate optionality with attribute combinations and cart rules.
This guide walks both routes: the module method first, then a no-module workaround with its limits spelled out. By the end, you will have a bundle page where some items are locked in, others are genuinely optional, and the cart total matches the choices a customer actually made.
What You'll Need
- Access level: Employee account with permission to install modules and edit catalogue products, orders and cart rules. A SuperAdmin login covers everything.
- Platform: A working PrestaShop store on a version the bundle module supports, with the native pack of products feature available.
- Plugin: The bundle module ZIP file, or catalogue access to install it. Method 2 needs no module at all.
- Time: Around 45-90 minutes for a first bundle, including configuration and a test order. The combination workaround takes longer the more add-ons you include.
- Difficulty: Intermediate. Setting up a single bundle is straightforward, but pricing, tax and stock logic each need checking.
Prerequisites
- At least two real catalogue products to put inside the bundle, one required and one optional.
- Stock management enabled on those products if you want each selected add-on to decrement its own quantity.
- A staging copy or maintenance window if the store is live, so configuration changes do not interrupt customer orders.
- Your tax rule groups confirmed for every product going into the bundle, and the store's price display setting decided (tax included or excluded).
PrestaShop's pack of products treats the bundle as a single sellable item whose contents are declared up front. Every product in the pack is added to the cart together, at the pack's own price, and the shopper has no interface to remove a line before buying.
There is no per-item toggle inside a native pack, no "required or optional" flag per line, and no way to price a component as an add-on. You can soften this with attribute combinations (a "with mug / without mug" pair) or Cart rules that discount when certain products appear together. Both work, but they multiply SKUs or ask the shopper to build the bundle themselves outside the product page.
Think about the bundles that actually convert. A coffee roaster wants to sell a "starter kit" with beans, a grinder and a mug, but the mug is optional. A skincare brand sells a routine set where the cleanser is fixed, and the serum is a tick-box extra. A corporate gifting buyer picking hampers for fifty staff needs to choose packaging but skip the card. None of these work as rigid packs.
Optionality changes the economics in three practical ways:
- Average order value rises because shoppers add a genuine extra rather than abandoning over an item they did not want.
- Returns drop, since customers stop buying a bundle padded with a product they will never use.
- One catalogue entry covers several price points, so you manage fewer product pages for the same spread of offers.
A native pack sells one fixed thing; a real bundle with optional items sells a choice, and PrestaShop ships only the first out of the box.
How To Build Optional-Item Product Bundles in PrestaShop?
Method 1: Build Optional-Item Bundles With a PrestaShop Bundle Module
A module-based bundle builder gives you the flexibility PrestaShop's native pack of products cannot. You define a base product, mark some items as required and others as optional, and the module handles the price totals and stock deductions when a shopper checks out.
For gift-style bundles, PrestaShop Gift Pack Builder Module gives customers a fun, interactive way to build their own gift boxes from your catalogue, with multiple display styles and backend controls for required and optional selections.
Step 1: Install & Activate The Bundle Module
You need the module active before any bundle settings appear, so this is always the first step. In your PrestaShop back office, go to Modules -> Module Manager and upload the module ZIP through Upload a module or install it from the module catalogue if it is listed. Once uploaded, click Install. You should now see a confirmation message and the module listed under installed modules, with a Configure button ready for the next step.
Step 2: Configure The Bundle Display & Selection Options
The display and selection settings decide how customers interact with the bundle on the product page. Open the module's configuration page from Configure, then work through the available options. Exact field labels vary by module version, so read each label carefully as you go.
- Display Style lets you choose how the selection interface looks, such as a grid, a pop-up, or a step-by-step builder, depending on the styles the module provides.
- Selection Options control how shoppers pick items, including whether they can swap, add, or remove items within the bundle.
- Customisable Content settings let you control what customers can personalise, such as choosing a gift box type or adding a message.
Save the configuration when you are done. You should now see your chosen display style apply to new bundle products you create.
Step 3: Create The Base Bundle Product With Required Items
The base product is the anchor the bundle attaches to, and its required items are what every customer must include. In Catalogue -> Products, create a new product or open the one you want to turn into a bundle, then link it to the module in the product's bundle settings. Add the items every buyer must have. These appear by default and cannot be removed at checkout. You should now see the required items listed as fixed components of the bundle on the product page.
Step 4: Add Optional Items With Their Own Pricing
Optional items are the whole point of this method, because they let a customer add a candle to the gift box without forcing one on everyone. Within the same bundle settings, mark additional catalogue items as optional and set how each is priced:
- Toggle Pricing lets you set whether an optional item adds to the total price or is included free, so a customer sees exactly what each extra costs.
- Price Per Item sets the amount added when the customer ticks that optional item.
- Default Selection decides whether an optional item starts selected or unselected when the page loads.
Once saved, the product page should now present the optional items as tickable or addable extras alongside the required ones.
Step 5: Set Per-Item Stock & Quantity Limits
Stock control matters here because one optional item running out should not block the entire bundle from selling. In the bundle settings, set the available quantity for each component and, where the module supports it, choose whether a sold-out optional item simply disappears from the selection or blocks the bundle.
This way, a popular add-on going out of stock does not take down a whole gift product. You should now see each item's availability reflected on the storefront, with out-of-stock optionals hidden or disabled.
Step 6: Publish & Test The Bundle Page
Testing before you publish is what proves the optional logic and totals work for real customers. Save the product, assign it to the right category, and add clear images and a description that tells shoppers which items are fixed and which they can add.
Then place a test order that includes at least one optional item and check that the order total, the itemised breakdown, and the stock deductions all match. You should now see a working bundle page where required items are locked in, optional items can be toggled, and the cart reflects the exact choices made.
Method 2: Simulating Optional Items With Native Combinations & Cart Rules
If you are not ready to add a module, you can mimic an optional bundle using PrestaShop's own product combinations and cart rules. It costs nothing beyond your time, but it forces you to do everything by hand: one parent product holds every variation, and each "with" and "without" pairing becomes a combination you generate and price yourself.
Think of it as building the bundle as a single configurable product rather than a true pack of separate items. The customer picks a configuration on the product page, and PrestaShop treats that choice as one line in the cart.
Step 1: Create Attributes For Each Optional Item
You need an attribute group before any combination can exist, because PrestaShop builds variations from attribute values.
Go to Catalog -> Attributes & Features and add a new attribute. For an optional item, name the values so the choice is obvious, for example, a group called "Gift Wrap" with the values "Yes" and "No". Repeat this for every optional add-on in the bundle.
- Name: The attribute group label the customer will read, such as "Gift Wrap".
- Public Name: The wording shown on the product page, which you can phrase as a question like "Add gift wrap?".
- Attribute Type: Choose the dropdown for a simple list, or colour/radio buttons if you want a more scannable layout.
You should now see your new attribute groups listed alongside the default ones, ready to attach to the bundle product.
Step 2: Generate The Combinations
This is where the manual effort concentrates, so plan the matrix before you click. Each attribute adds a further layer of combinations, and the total multiplies fast.
Open the bundle product under Catalog -> Products, go to the Combinations tab, and use the generator. Add the attribute groups one at a time, choose the values you want included, and confirm. For a bundle with three yes/no options, you will create eight combinations, one for every with/without permutation.
A bundle with five optional items creates thirty-two combinations, which is why this method suits only a handful of add-ons.
You should now see the full grid of combinations in the Combinations tab, each listed with its own reference and price field.
Step 3: Set Impact On Price For Each Combination
The price of the optional item has to live somewhere, and on a single product, that means the impact value on each combination.
Still in the Combinations tab, edit each combination and set the Impact on price field. The "without" variant keeps the base impact, and each "with" variant adds the cost of that add-on. Work through the grid row by row so a two-add-on bundle sums correctly, rather than charging for one item and skipping the other.
- Impact on Price: The amount added to or subtracted from the base product price for this specific variation.
- Impact on Unit Price: A per-unit figure if you sell the bundle in quantities.
- Reference and EAN-13: Give each combination a distinct reference so you can track which permutations actually sell.
You should now see a price next to every combination that reflects the add-ons the customer has selected.
Step 4: Manage Stock Per Combination
Stock for the optional components has to be tracked at combination level, because each permutation consumes a different set of physical items.
In the same Combinations tab, set the Quantity per combination and choose Default or Deny backorder under the availability setting. Keep in mind that PrestaShop's native stock management tracks each combination as one sellable line, not the separate component stock a true bundle would deduct.
Warning: if you sell the same optional item inside the bundle and as a standalone product, native combinations will not keep those two stock pools in sync. Plan for manual reconciliation or keep optional items bundle-only.
You should now see a quantity figure against each combination, and the product page will show the right availability message as stock moves.
Step 5: Add A Cart Rule For Bundle Discounts
A discount can make the optional bundle more attractive, and a cart rule applies the reduction across the whole configuration without editing every combination price again.
Go to International -> Taxes only if your tax rules need checking first, then head to Cart Rules under the pricing menu and create a new rule. Use the Conditions tab to target the bundle product, and the Actions tab to apply a percentage or amount discount. Set the dates, and PrestaShop applies the rule automatically when the eligible configuration lands in the cart.
- Name: An internal label only you see, such as "Gift bundle spring offer".
- Conditions: Restrict the rule to the bundle product and any minimum spend you require.
- Actions: The discount type and value, plus whether free shipping applies to the order.
You should now see the discount reflected in the cart total when a customer selects a qualifying configuration.
What This Workaround Cannot Do
This method gets you an optional-item bundle with no module, but it has clear edges. The customer sees one product line, not a bundled list of items, and stock for shared components is not separated. When the number of options grows, the combination grid becomes unmanageable and easy to misprice. That is the point where a dedicated module earns its place over hand-built combinations.
Conclusion
Optional-item bundles touch pricing, tax, stock and cart rules at the same time, so one misconfigured field can cause problems far from where you set it. Use the fixes below to trace each symptom back to its source.
An Optional Item Does Not Appear in The Pack
Usually, the product is excluded from the customer group, sits in a category the builder is not reading, or is marked unavailable in the module's item list.
- Check that the item is assigned to the customer group the visitor belongs to, including guests.
- Confirm the product is enabled and in stock, because out-of-stock items are hidden by default.
- Clear the PrestaShop cache from Advanced Parameters - Performance and reload the storefront.
The Total Is Wrong When A Customer Toggles An Add-on
A stale price is nearly always a caching or catalog-side issue, not the module itself.
- Enable Catalog mode, check off and verify the item's specific price rules do not clash with the bundle price.
- Rebuild the pack price after editing a child product; many builders store a cached base price.
- Test in an incognito window so a page-cache copy of the old total is not served.
If the pack total still disagrees, compare it against the sum of the child products before blaming the module.
Stock Drains Incorrectly Or Negative Quantities Appear
Decide once whether the bundle or its components hold stock, then enforce that choice everywhere.
| Symptom | Likely cause | Fix |
|---|---|---|
| Component Stock Never Drops | Stock tracked on the pack only | Switch stock tracking to the individual products |
| Quantity Goes Negative | Backorders enabled on a child product | Disable backorders for items inside the pack |
| Stock Drops Twice | Both pack and component tracking stock | Turn off stock on the pack product |
Tax Is Calculated On The Wrong Amount
Tax follows the tax rule group of each product involved, so mismatched groups produce an odd-looking total.
- Set the same Tax Rule Group on the pack and every optional item.
- Check the shop's Price Display setting (tax included or excluded) matches what customers expect.
- Review the European Union VAT rules if you sell across borders, as they override per-product tax in some cases.
A Cart Rule Refuses To Apply
PrestaShop cart rules evaluate against the cart, and a bundle can hide the products a rule expects to see.
- Check the rule's Conditions tab; a product or category restriction may exclude the pack.
- Verify the priority value so the rule runs before or after other discounts as intended.
- Test with a single bundle in the cart to rule out quantity thresholds.
Combinations Explode At Scale
A pack with several optional items and attributes generates a large number of combinations, which slows the product page and can hit hosting limits. Reduce attributes on the parent pack, and let the module handle per-item choices instead of doubling them in native combinations. Capping optional slots also keeps the matrix manageable.
Final Verdict
You now have a PrestaShop bundle where required items are locked in, optional extras carry their own price, and stock and cart totals match the customer's actual choices. The module route gives you that behaviour with far less maintenance than a hand-built combination grid.
Start with the PrestaShop Gift Pack Builder Module and publish your first optional-item gift box this week.