


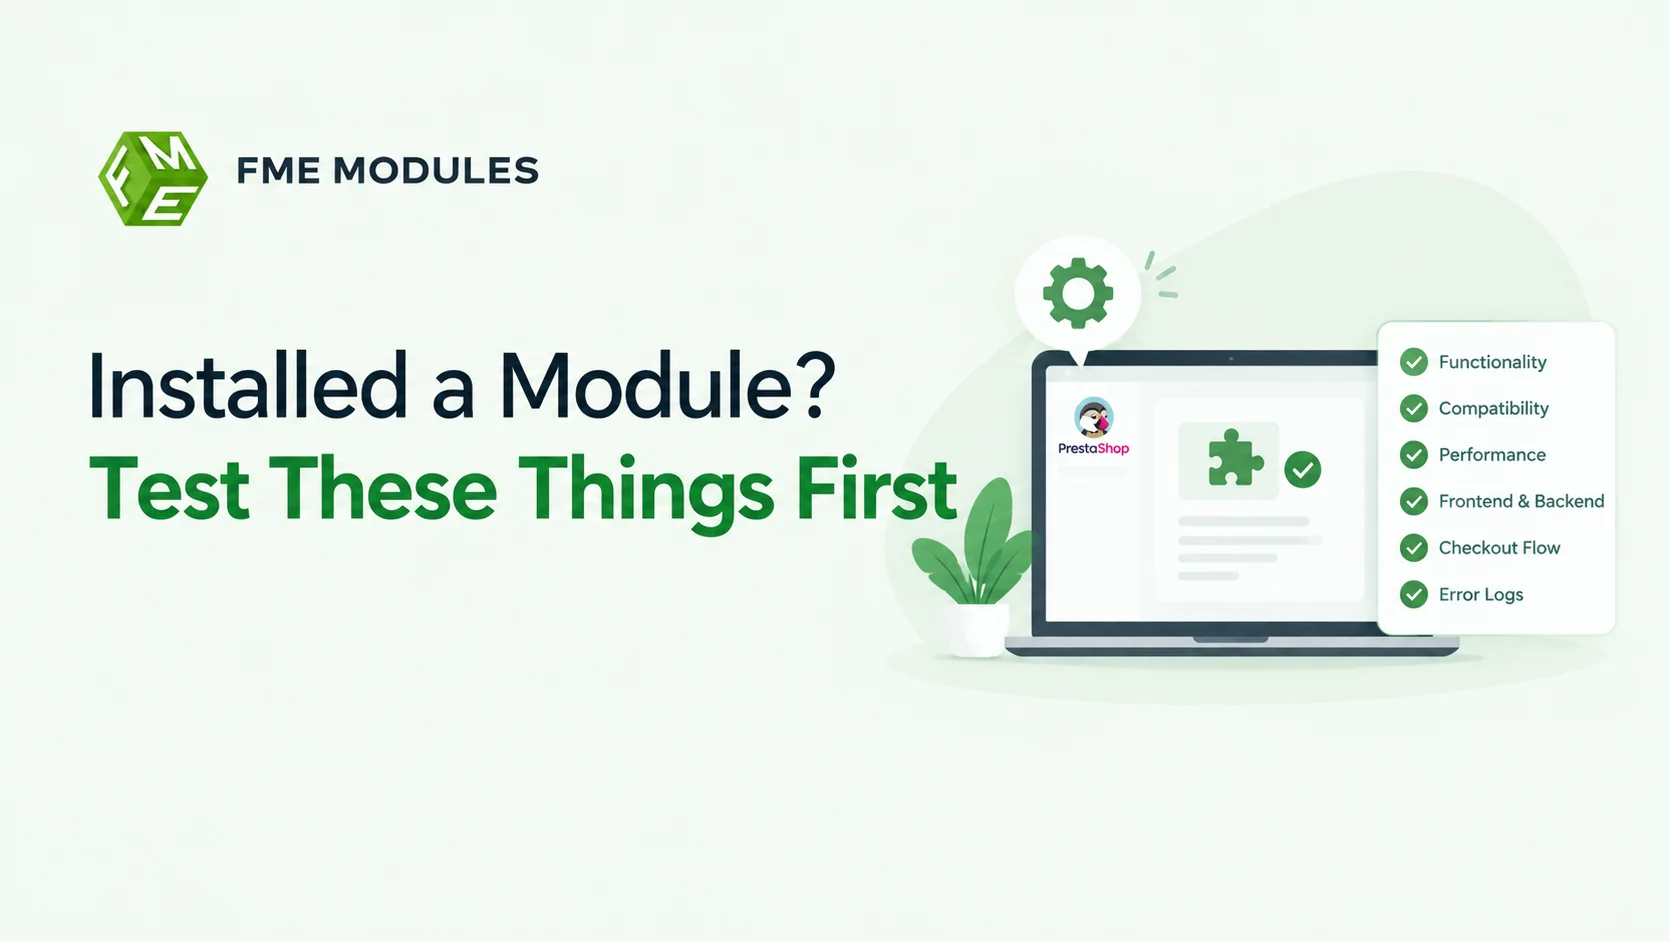
Installing or updating a PrestaShop module can add useful features to your store, but it can also introduce unexpected issues. Problems with compatibility, checkout, or existing functionality may go unnoticed if you skip proper testing.
Before considering the job done, it is important to verify that everything works as expected. Here are the essential checks to perform after installing or updating a PrestaShop module.
Why A Testing Checklist Saves You From Refund Hell
After installing or updating PrestaShop, you must test the front office (navigation, product pages, cart, checkout), the back office (login, order management, module configuration), payment and shipping methods, email notifications, and performance (cache, debug mode). Catching issues here prevents lost sales and frustrated customers.
A PrestaShop testing checklist is the fastest way to confirm an install or update has not broken the path from browsing to payment. Run it before real traffic arrives, and you catch the failures that quietly kill sales: a missing add-to-cart button, a payment step with no methods listed, a confirmation email that never leaves the queue. Every item can be tested in minutes, and every failure costs far less to fix now than after a customer complains.
Skip that drill, and you are not launching a storefront; you are launching a support ticket avalanche. A merchant once flipped the "Use SSL" toggle on the front end, refreshed the homepage, saw the padlock, and went to bed. The next morning brought abandoned baskets and a customer email asking why the payment page had a warning triangle above the card form. One click in Shop Parameters > General would have caught it during a short test.
The same applies after a one-click upgrade between major versions. PrestaShop patches frequently touch core templates, and any override your theme or a paid module ships can silently break the product page. Front office looks fine, back office is fine, the order email never leaves the queue.
- A theme override in
/themes/your-theme/templates/stops the "Add to cart" button rendering on variable products. Baskets stall at zero. - A payment module such as a PrestaShop plugin is deactivated by an upgrade. Checkout shows the payment step with no methods listed, and buyers simply leave.
- The transactional email template renders raw HTML after an update. Customers see
{shop_name}instead of your brand name in the order confirmation. - Debug mode is left ON after troubleshooting. Every visitor now sees PHP notices, including stack traces naming your file paths.
Each of those costs nothing to fix before launch and a great deal to fix after. Testing turns an unknown into a known, and a known you can schedule. What follows is the checklist you run every single time, whether it is a fresh install or a patch release.
Test as you mean it, because the first person who finds a broken checkout is the customer you will not get back.
Front Office: What Does A Customer Actually See?
Open your storefront in a private browsing window, with no admin session and no cached assets. What you see next is exactly what a first-time visitor sees, and it is the only opinion that counts.
Start on the homepage. Confirm the hero banner renders at full width, the navigation menus drop down without overlapping the header, and any promotional blocks rotate or dismiss correctly. Then walk the path a real shopper takes.
- Category Pages: check pagination, sorting (price low to high, newest first) and the layered navigation filters for price, colour and size. A broken filter that returns zero products quietly kills browsing sessions.
- Product Pages: verify the image gallery zooms, combinations (size, colour) swap the price and stock label correctly, and the quantity selector accepts more than one unit. Confirm the add to cart button appears above the fold on mobile.
- Search: type a partial product name and a misspelling. Both should return sensible results rather than an empty page, and the search suggestions should not lag behind your typing.
- Account Creation: register a test customer, confirm the welcome email arrives, then log out and log back in. After an update, this is where password hashing and customer group rules tend to break.
If your catalogue spans thousands of SKUs, a PrestaShop module that enhances search or filtering can close gaps the core cannot, though only add one once the base storefront behaves.
If the homepage loads but the product page does not, you have not launched a store; you have launched a complaint form.
The Cart and Checkout Gauntlet: Payment Gateways, Shipping, & Taxes
A storefront that browses beautifully but chokes at payment is worse than one still in maintenance mode, because customers only discover the failure after they have committed to buying. Walk the entire purchase path as a stranger would, from empty cart to confirmation email, and break it on purpose before a real buyer does.
Work through the flow in one continuous session so you catch state-related bugs, such as a voucher that applies on the cart page but silently drops at the payment step.
- Add a single product, then a product with combinations, then a product with a customisation, and confirm the cart line summaries match the product pages exactly.
- Apply a voucher and a cart rule, including one with a minimum order value, and verify the discount recalculates correctly when you remove an item.
- Run a full guest checkout alongside a registered customer checkout, since guest flows skip account validation that can mask address or tax problems.
- Complete at least one order through your payment provider's sandbox or test mode before switching to live credentials, and confirm the order status updates automatically rather than sitting at "Awaiting payment".
- Test every active carrier with a real address in each zone you ship to, checking that out-of-range postcodes are rejected rather than quietly overcharging.
- Verify tax rules on a basket that mixes taxable and non-taxable items, and on an order shipped to a different country from the billing address.
An order that reaches the confirmation page but never reaches your payment provider is the single most expensive bug you will ever ship.
If your checkout relies on additional modules for gateways, shipping rules, or order management, test those integrations here rather than assuming compatibility. PrestaShop Developers such as FME Modules build PrestaShop modules specifically for these checkout-adjacent tasks, and any third-party module should be exercised through the same end-to-end order before you trust it with live traffic.
Back Office Health Check: Orders, Customers, & Module Hooks
The front office can look perfect while the back office quietly falls apart. A storefront where orders land in the correct tab, stock decrements, and emails fire is a storefront you can run. One where an order sits at "Awaiting payment" forever generates angry emails on a Saturday night. Log in as an administrator (and separately as an employee account with limited permissions) before you touch anything else.
Then walk the order lifecycle end to end:
- Place a real test order, then open Orders and confirm the status, payment method, carrier, and total all match what you selected.
- Change the order status manually and check that the customer receives the corresponding email.
- Issue a partial refund and a full refund on separate test orders, verifying stock returns to the shelf where it should.
- Open Customers and confirm the test account appears with the correct group, address, and order history.
Module hooks are where updates break silently. In Design > Positions, check that your payment and shipping modules still sit in the right hooks (displayPayment, displayAfterCarrier, displayHeader) after an upgrade. A module that survived the update but lost its hook will not throw an error; it will simply stop appearing.
If any admin page returns a blank white screen, check the PHP error log before assuming the database is damaged. A blank back office page is almost always a PHP fatal error, not lost data.
Does Your PrestaShop Update Break Third-party Modules?
A core update rarely breaks PrestaShop itself. It breaks the addons bolted onto it, and those failures surface as blank pages, missing prices, or a checkout button that simply does nothing. Test every installed module before you let a single customer near the new version.
Start in the Modules manager and filter to those with an available update, then work through the ones that touch checkout, product pages, and order confirmation first. PrestaShop Partner modules generally publish compatibility notes per release, so compare that against your target version before updating anything.
- Update one module at a time and reload the storefront after each change, so you know exactly which one caused a failure.
- Check the Design, Positions page for modules still hooked into discontinued display hooks, which often appear in the wrong place or vanish after an update.
- Open
/modules/and look for a folder whose name matches a template file in your theme, a common source of silent conflicts.
Then enable debug mode from the Performance page under Advanced Parameters. Refresh each affected page and read the stack trace instead of guessing. Debug mode only works on a staging copy, since it exposes error details to anyone browsing the live shop.
Emails, Invoices, & PDFs: The Forgotten Touchpoints
A store can process a flawless payment and still lose the customer five minutes later, because the confirmation email arrived blank, the invoice PDF rendered as stray characters, or the password reset link never landed. These transactional touchpoints run on PrestaShop's mail templates and PDF engine, and after an update they are the first things to break quietly. Test each one by triggering it for real, not by reading the template code.
Open Advanced Parameters and check the email settings first, since a misconfigured mail method sends everything into the void regardless of template quality.
- Place a genuine order through the front office and confirm the order confirmation email reaches the inbox, with the shop name, order reference, and product list intact.
- Run the customer password reset flow end to end and click the reset link from the email itself.
- Generate an invoice from the order page and download the PDF, checking totals, tax lines, your logo, and any accent in the shop address.
- Open a delivery slip and a credit slip too, since each PDF template carries its own layout.
- Send the customer service contact form and confirm it forwards to the right mailbox.
- Repeat the order email test in a second language if your shop runs multiple languages.
Watch for garbled characters in PDFs after an update, a common symptom of encoding drift. If you rely on custom order emails or branded invoice layouts, verify any PrestaShop module handling those templates still renders correctly before you go live.
Performance & Security: Cache, Debug Mode, and File Permissions
Before you hand the storefront to customers, confirm the shop is quick to load and not exposing anything it should not. Three settings cause most of the trouble: caching, debug mode left switched on, and loose permissions.
- Clear the cache from Advanced Parameters Performance after every update, then load the homepage and a category page to confirm they still render.
- Turn off Debug mode before going live. It exposes file paths and query details to anyone visiting the site.
- Recompile templates only when you are actively editing theme files, then switch back to the default setting.
- Keep the Smarty cache and CCC (Combine, Compress and Cache) options enabled on production for faster page loads.
- Check that
configandvarfolders are not world-writable, and that file ownership matches your hosting user. - Load the site over HTTPS and open the browser console to hunt for mixed content warnings: images or scripts still served over plain HTTP.
A store that loads quickly quietly converts far more shoppers than a slow one, and mixed content warnings will scare off the rest.
Run these checks on a staging copy first, so a broken cache setting never touches live customers. If you use FME Modules to extend your shop, test their modules alongside these settings.
Your Short Post-update Smoke Test (Copy-paste Checklist)
A smoke test is not a full regression pass; it is a fast circuit breaker. Run these ten checks within an hour of every PrestaShop install, patch or PrestaShop update, before real traffic finds what you missed.
- Load the homepage, one category page and one product page on mobile, logged out.
- Add a product to the cart, change its quantity, then apply a voucher code.
- Place one real low-value order using each active payment module, then refund it.
- Confirm the confirmation email arrives and the invoice PDF opens with correct tax lines.
- Open the order in the Back Office, change its status, and watch the customer's order history update.
- Switch the store to a second language and second currency, and repeat step two.
- Check that your top five best-selling products still show correct stock levels.
- Open the browser console and PHP error log on each page above.
- Clear the PrestaShop cache and disable any active debug or maintenance mode.
- Log in as a test customer and confirm the account dashboard and addresses render correctly.
If any single step fails, stop and fix it before you touch anything else, because a broken checkout hides the next broken thing.
The Pre-flight PrestaShop Testing Checklist
Run these in sequence. A finished item means you have seen it work with your own eyes, not that you assume it works because the install completed without an error.
- Confirm the PrestaShop version and PHP version match your plan. Open the back office and check the version number against your hosting configuration. A PHP upgrade on the server can break a module that worked perfectly last week.
- Place a real test order, start to finish. Use a genuine product, a genuine carrier, and a genuine payment method in test mode. Guest checkout first, then a registered customer account. This single test exposes more problems than any other item on this list.
- Test every payment module you have enabled. Run one transaction per method, including any module that redirects to a payment provider and returns to your confirmation page. Watch what happens on the return, not just the send.
- Verify tax calculation against your local rules. Add a product to the cart and check the tax line at the cart, the order summary, and the invoice. Mismatched tax between those three screens is a common post-update failure.
- Check carrier and shipping cost logic. Test a domestic address, an international address, and a weight or price threshold if you use free shipping rules. Confirm the price shown at checkout is the price you expect to charge.
- Confirm order confirmation emails arrive. Check the customer confirmation and the back office notification. Send them to an inbox you actually control, and look in the spam folder before assuming they failed.
- Test stock behaviour under pressure. Buy the last unit of a product, then try to buy it again from a second browser session. You want to see the out-of-stock message, not an oversell.
- Check customer account functions. Register a new account, log out, log back in, reset a password, and view order history. These flows touch templates that theme overrides love to break.
- Run through the back office as an employee. Create a product, edit an order, issue a refund or credit slip, and generate an invoice. Test with the permission level your real staff use, not just the super admin account.
- Test on a real mobile device. Not a resized desktop browser. Add to cart, checkout, and pay on an actual phone, because that is where a broken layout costs you the sale.
- Review your module list after every update. Disable anything unused, and check that each active module still declares compatibility with your PrestaShop version. Modules built by the team behind FME Modules are maintained for current PrestaShop releases, and that maintenance is worth verifying in any vendor you rely on.
- Clear the cache and re-test one flow. PrestaShop caches aggressively. Clear it, then repeat your order test. If the store behaves differently after clearing, you were testing stale templates the first time.
What Each Critical Test is Actually Looking for
Some items on the list catch problems fast, and some catch the expensive ones. Here is what to watch for in the tests that matter most.
The Test Order is The Whole Story
One complete order exercises the cart, the carrier, the payment module, the stock system, the order creation, and the email pipeline in a single pass. If you only have time for one test, do this one.
If the test order succeeds, your core revenue path is probably intact. If it fails, nothing else on this checklist matters until you fix it.
Use a payment method in sandbox or test mode so you are not moving real money. Keep a note of the order reference and check that it appears correctly in the back office order list.
Payment Module Returns Are Where Orders Get Lost
A payment module has two halves: sending the customer to the provider, and bringing them back. The second half is where failures hide. A customer who pays but never reaches your confirmation page will email you, and you will have to reconcile it manually.
Test the full round trip for each method. Check the order status the module assigns on return, and confirm the order exists in the back office with the correct total.
Tax & Shipping Mismatches Cost Real Money
If the cart shows one tax figure and the invoice shows another, you either undercharge or overcharge. Both are problems, and both get noticed by customers and accountants.
Shipping rules behave the same way. A free shipping threshold that worked before an update can silently stop applying. Test the threshold from both sides: one basket just under it, one just over.
Emails & Stock Are The Quiet Failures
A broken confirmation email does not stop a sale, which is exactly why it goes unnoticed for weeks. Test both the customer copy and the merchant notification after every update.
Stock behaves similarly. Place the last unit in one browser and try the same product in another. If both orders go through, your stock handling has a gap that will eventually mean an apology email and a refund.
Who Should Run This Checklist?
- Store owners after a fresh install, before announcing the shop to anyone
- Agencies as a sign-off step before handing a build back to the client
- Anyone who ran a PrestaShop update on a live store, ideally against a staging copy first
- Developers after adding or replacing a module that touches checkout, payment, or shipping
If you maintain a staging environment, run the same checklist there first. Finding a broken payment module on staging costs you an afternoon. Finding it on production costs you orders.
Final Verdict
A green dashboard tells you the install completed. It does not tell you the add-to-cart button renders, the payment module returns the customer to your confirmation page, or the order email carries your brand name. Those three things only become visible when you walk the shop as a customer would, and that is what this checklist forces you to do.
The order of work matters more than the volume. Place one real test order first, because it exercises the cart, carrier, payment module, stock, order creation and email pipeline in a single pass. Once that succeeds, the tax, carrier, back office and PDF checks refine a shop that already sells rather than triaging one that does not.
Run the short smoke test after every patch and the full checklist before any launch or major upgrade. Keep a staging copy so the destructive checks (clearing cache, enabling debug mode, refunding test orders) never touch live customers. Stores that skip this step do not save time; they simply move the work to a Saturday night when an order will not go through.
Sign in to comment