


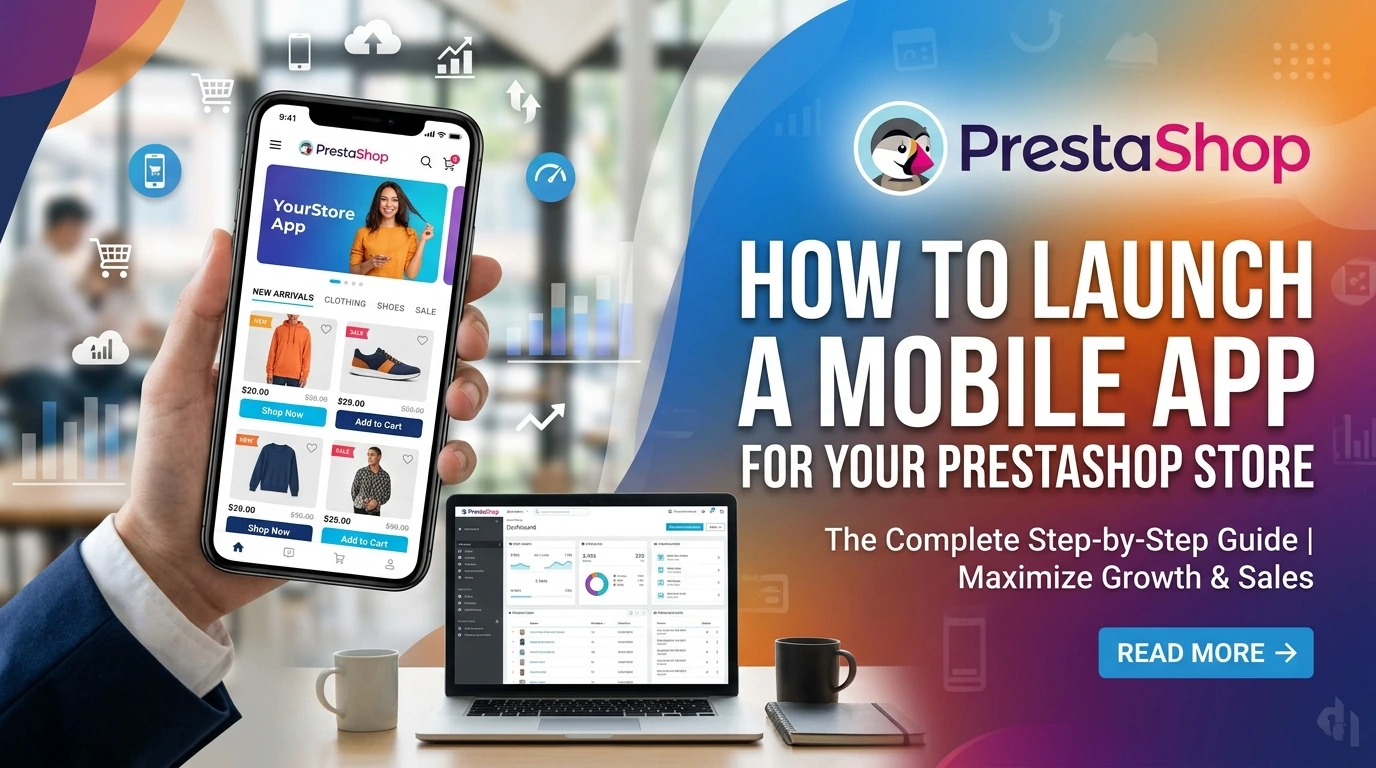
Mobile devices now drive the majority of online purchases, making a fast, frictionless mobile experience essential for growing your ecommerce revenue. While a responsive website is a solid baseline, a native mobile app places your PrestaShop store directly onto your customers' home screens with superior speed and instant push notifications.
The transition to a native app is more accessible than ever, allowing you to sync product catalogues, customer accounts, and payment gateways without writing code from scratch. By following a clear, step-by-step checklist, from selecting the right app builder to optimizing your launch campaign, you can turn casual site visitors into loyal, repeat buyers.
Why Your PrestaShop Store Needs a Native App
Launching a mobile app for your PrestaShop store requires careful planning: choose a reliable app builder or plugin, design a user-friendly interface, test thoroughly on iOS and Android, prepare app store listings, and plan your launch campaign. The PrestaShop Mobile App Builder from FME is our top pick for turning your existing store into a native app quickly, then follow our checklist to ensure a smooth go-live and post-launch optimisation.
The numbers make the case on their own. Industry data shows mobile devices now account for 57% of global ecommerce sales, a figure that keeps climbing as shoppers grow more comfortable buying on the go. Your current mobile website might load fine, but a native app changes how customers interact with your brand entirely.
Consider how your customers actually shop. They browse on the train, compare prices during lunch, and finish purchases on the sofa at night. A native app keeps your store one tap away, with faster load times, smoother navigation, and the ability to send push notifications when you have a sale or restock a popular item. That proximity builds habit, and habit builds repeat revenue.
The app builder module from FME transforms your existing store into a native iOS and Android app without requiring you to rebuild your catalogue or redesign your checkout. It pulls your products, categories, and customer accounts directly from your PrestaShop backend, so you maintain one source of truth while reaching shoppers on the platforms they already use daily.
A native app is not a luxury for enterprise stores; it is the difference between being installed on a customer's phone or forgotten in their browser history. The sections that follow walk you through every stage of launching yours, from choosing the right builder to optimising performance after go-live.
Step 1: Choose Your App Building Approach
Your choice sets the budget, timeline, and level of control for everything that follows. Broadly, you have two routes: commission a custom development project or use a dedicated PrestaShop Mobile App builder module. Custom development gives you full design freedom, but it typically means a longer timeline, a higher budget, and ongoing maintenance commitments with a developer or agency.
A module-based approach works on top of your existing store. You install it, configure your branding and colours, and the module turns your catalogue into a native Android and iOS app without writing code from scratch. This is the practical choice for most busy store owners who want results this quarter, not next year.
- Budget and speed. If you need to launch quickly and control costs, a builder module is the faster, more predictable route. Custom development shines when you have a large budget and very specific, non-standard requirements.
- Maintenance. Modules typically receive updates alongside PrestaShop releases, so compatibility is managed for you. Bespoke code is yours to maintain, which adds ongoing overhead.
- Feature needs. List the features you actually require, such as push notifications, one-page checkout, or product search. Many stores find a quality module covers most of what they need out of the box.
The FME PrestaShop Mobile App Builder is our recommended choice here. It transforms your existing store into a downloadable app for Android and iOS devices, with engagement and interaction as its focus rather than a bare catalogue replica.
Step 2: Configure Your App's Core Features
Once your builder is chosen, the next task is shaping how the app behaves for your customers. The PrestaShop Mobile App module makes this a guided process rather than a coding exercise. Skip this step, and you risk launching an app that looks native but feels incomplete.
- Product catalogue sync: Ensure every product, variant, and stock level pulls through accurately from your PrestaShop back office. Verify that price changes and out-of-stock flags update in the app without manual intervention.
- Shopping cart and checkout: Confirm the cart carries over between the app and your web store. Test the full checkout flow on both iOS and Android, including guest checkout if you offer it.
- Payment gateways: Activate every payment method you accept online so the app does not feel like a downgrade. Check that each gateway's mobile redirect or in-app payment screen renders correctly.
- Push notifications: Set up permission prompts and define the campaigns you will send, such as abandoned-cart reminders or restock alerts. Get consent handling right here so you can re-engage shoppers without annoying them.
- Customer accounts: Enable order history, saved addresses, and wishlists so returning customers feel at home. A frictionless login flow, ideally with social sign-in if your builder supports it, reduces drop-off.
- Localisation and currency: Match your store's language and currency settings, especially if you sell across borders. An app that shows the wrong currency or a machine-translated interface erodes trust instantly.
The time you spend testing each feature on a real device will save you a wave of refund requests and negative reviews. Use the builder's preview mode to simulate both platforms before you submit to the app stores, and pay special attention to image compression. A product photo that loads slowly on a mobile connection is a lost conversion, no matter how polished the rest of the app looks.
Step 3: Design Your App for Conversion
A mobile app is only as good as its design. Unlike a web browser, your app gives you full control over how customers navigate, browse, and check out. Shoppers are often on the move, have shorter attention spans, and expect speed. Every screen, button, and menu either removes a barrier or adds one.
Navigation That Gets Out of the Way
Start with a simple bottom navigation bar. This is the industry standard because thumbs naturally reach the bottom of a phone screen. Keep it to five items or fewer: Home, Categories, Cart, Account, and maybe Search. Make the search bar prominent on the home screen so returning customers can find what they want fast.
Buttons and CTAs That Demand Attention
A "Buy Now" or "Add to Cart" button that blends into the background is a lost sale. Use a bold, contrasting colour for your primary call-to-action so it stands out against product images. Apple and Google both recommend touch targets around 44 to 48 pixels, so size your buttons generously. Keep the add-to-cart button visible without scrolling when possible, or use a sticky button that stays at the bottom of the screen as the shopper scrolls.
Streamline the User Flow
Every extra step in the journey from home screen to order confirmation is a place where shoppers drop off. Offer guest checkout as a default and suggest account creation after the order is placed. Keep product pages focused: show the product image, price, available colours and sizes, and a short description above the fold. Move detailed specifications into an expandable section.
A well-designed app also makes your store feel more professional. Shoppers judge credibility in seconds, and a clean, intuitive interface builds the trust needed to complete a transaction.
Step 4: Test, Test, and Test Again
Before you submit your app to the Apple App Store and Google Play, run a full QA cycle. A buggy launch erodes trust and tanks your ratings. Testing a PrestaShop mobile app built with the FME Mobile App Builder is straightforward because the module generates both native iOS and Android versions from your existing store data.
Start with device compatibility. Test on the most common screen sizes and OS versions your customers actually use. For Android, that means checking phones from Samsung, Google Pixel, and Xiaomi. On iOS, verify the app renders correctly on older iPhones like the SE and 11, not just the latest Pro models. Emulators are useful, but nothing replaces a real-device pass.
Payment gateway testing is the most critical step. Run a test order through every payment method you support, including PayPal, Stripe, and bank transfer. Confirm the order confirmation page loads instantly, the customer receives their email receipt, and the order appears correctly in your PrestaShop back office. Do this on both a fresh account and a returning customer account to catch login session issues.
Performance checks come next. Load your app on a 4G connection, not just Wi-Fi, and scroll through your catalogue quickly. Slow image loading and laggy category pages will drive shoppers away.
- Verify push notifications arrive on both platforms and deep-link to the right product page.
- Test cart behaviour when the app is backgrounded, or the connection drops mid-checkout.
- Check that your currency, tax, and shipping rules display exactly as they do on your web store.
Keep a shared bug log during this phase and fix issues before you press the publish button.
Step 5: Prepare Your App Store Listings (ASO)
Your app is built, tested, and ready. Now you need shoppers to find it. App Store Optimisation (ASO) improves your app's visibility in the Apple App Store and Google Play Store search results. It works like SEO, but for app stores, and it directly affects how many downloads your PrestaShop mobile app receives.
Start with your app name. The title is the most heavily weighted field in both stores, so include your brand name and a concise keyword phrase. For example, if you sell handcrafted candles, a title like "YourBrand: Handmade Candles & Home Fragrance" performs better than just "YourBrand".
- Subtitle or short description: State your primary value proposition in under 80 characters for Google Play, or 30 characters for iOS.
- Keywords: On iOS, you get a 100-character keyword bank. List relevant terms separated by commas, like "candles, gifts, home decor, fragrance". Do not repeat words that are already in your title.
- Description: Open with your strongest benefit in the first two sentences. Highlight exclusive app-only promos and mention how fast purchases are.
- Screenshots: The first screenshot is your best marketing asset. Use it to show real product pages or a clear benefit. Follow up with 3 to 5 additional screenshots showing the browsing experience, the checkout flow, and push notification benefits.
Encourage reviews and ratings early, but ask politely. A pop-up request after a successful order converts far better than one shown at first launch. Several recent positive reviews significantly boost your app's ranking for relevant search terms.
Treat ASO as ongoing maintenance. Monitor the keywords shoppers actually use to discover your app, track how your listing converts against your competitors, and update your screenshots each season to keep them fresh.
Step 6: Go-Live and Promote Your App
Launch day is where all your preparation pays off. Your goal is simple: get your PrestaShop mobile app onto as many home screens as possible within the first week. A concentrated launch push improves your app store ranking and creates a base of regular users who drive repeat purchases.
Send a dedicated announcement email to your entire subscriber list with direct download buttons for both the App Store and Google Play. Send a follow-up email three days later to anyone who opened but didn't click. Plan a week of social posts that showcase the app's key features, using short demo videos recorded during your testing phase.
For physical stores, print QR codes that link directly to your app store listings. Place them at the checkout counter, on receipts, and on window displays. Train your staff to mention the app during conversations, framing it as faster checkout, easy order tracking, and exclusive mobile-only offers.
Incentivise that first download. Offer a small discount code that is only available inside the app, or a loyalty reward for the first purchase made through it. This gives hesitant shoppers a concrete reason to install and try the experience.
- Announce early: Tease the launch three to five days before go-live with countdown posts and a waitlist signup.
- Time your emails: Send the main announcement on a Tuesday or Wednesday morning, when open rates tend to peak.
- Make a launch video: A 30-second screen recording showing the app's smooth navigation is your most persuasive asset.
- Update your store: Add a "Get the App" banner to your PrestaShop storefront homepage and a link in your order confirmation emails.
- Monitor early reviews: Respond to every app store review within 48 hours, thanking positive users and resolving any complaints quickly.
Once the initial push settles, feature the app in your weekly newsletter footer, run quarterly campaigns that remind users of app-only perks, and regularly refresh the app's content. Track downloads, app store conversion rates, and in-app purchase behaviour from day one, then double down on the promotional channels that drove the most installs.
Review crash logs and user feedback weekly for the first month, push out small updates to address any friction points, and plan your first significant feature addition based on what your users actually do inside the app.
Step 7: Post-Launch Optimisation Checklist
Launching your PrestaShop mobile app is the starting line, not the finish. The days and weeks after go-live determine whether your app becomes a habit for customers or a forgotten icon on their home screen.
Monitor Analytics From Day One
Set up event tracking before you announce the launch so you capture baseline data. Pay close attention to session length, screen flow, and where users drop off between product view and checkout. Compare your app's conversion rate against your website's to spot where the experience needs work, then adjust the layout or flow in your builder.
Refresh Content and Catalogue Weekly
- Sync new products, updated prices, and removed items so the app never shows stale inventory.
- Refresh your home screen banners to match seasonal promotions and current campaigns.
- Review your push notification schedule and test different sending times to find when engagement peaks.
Push Features That Drive Engagement
Use push notifications for abandoned cart reminders, restock alerts, and flash sale announcements, but keep the frequency reasonable to avoid opt-outs. Review your notification analytics each week and drop any message type that shows high dismissal rates.
Act on User Feedback
Read every app store review and respond to both praise and complaints. If users consistently mention the same friction point, such as a confusing filter or a slow-loading category page, prioritise that fix in your next update cycle. App stores reward regular updates with better visibility.
Why Your PrestaShop Store Needs a Mobile App
Mobile shoppers expect speed, convenience, and a native experience that a responsive website simply cannot deliver. Apps load faster, support push notifications, and remember returning customers, which leads to higher conversion rates and repeat purchases. Industry data shows mobile devices now account for 57% of global ecommerce sales, and that figure continues to climb.
For PrestaShop merchants, the gap between a desktop store and a native app is where you lose impatient customers. A well-built app reduces friction at every touchpoint, from product discovery to checkout, and gives you a direct channel to your most loyal buyers. The effort pays off in customer lifetime value, not just one-off sales.
Step 1: Choose Your App Builder
Your first decision sets the ceiling for everything else. You need a builder that connects to your PrestaShop backend, generates native iOS and Android binaries, and requires no coding knowledge. The right module should handle product sync, customer accounts, and order management automatically.
For most merchants, the PrestaShop Mobile App Builder from FME Modules is a strong starting point. It transforms your existing store into native apps for both platforms, pulls your catalogue and pricing in real time, and lets you manage the whole thing from your PrestaShop admin.
What to Look For in a Builder
- Native app generation for both iOS and Android, not just a web wrapper
- Real-time sync with your PrestaShop catalogue, stock levels, and prices
- Support for your payment gateways and shipping carriers
- Push notification setup without requiring a third-party service
- Clear documentation and responsive support for setup questions
If you only need an Android presence for now, FME also offers the PrestaMobAPP native Android app builder as a more focused option. Review both against your target audience before committing, since switching builders later means rebuilding your app configuration from scratch.
Step 2: Prepare Your Store for Mobile
Before you generate a single app build, your PrestaShop store needs to be in shape for mobile-first shopping. Start by auditing your product images, since poorly compressed photos look worse on high-density phone screens and slow down app loading times. Re-export any images that are smaller than 800 by 800 pixels or saved in an uncompressed format.
Next, review your product descriptions and trim anything that reads as wall-of-text on a small screen. Short paragraphs, clear bullet points, and descriptive titles all translate better to a mobile layout. Check that your categories are logically organised too, because mobile navigation relies on clear menus rather than hover effects or sidebars.
Finally, test your checkout flow on an actual phone. A long or confusing checkout is the single biggest reason mobile shoppers abandon carts, and any friction you fix now carries straight over to the app experience.
Step 3: Configure Your App Build
Once your store is ready, configure your app in the builder module. The exact menus vary by module, so lean on the documentation that ships with your tool. In general, you will define your app name, upload an icon and splash screen, and choose your primary colour scheme to match your brand.
- Push notification settings, including which triggers send alerts for order updates or promotions
- Payment methods that appear in the mobile checkout and whether they require extra setup
- Social login options (Google, Facebook, Apple) if you want to reduce sign-up friction
- Language and currency defaults for your primary markets
- OneSignal or similar push service credentials if your builder requires them
Most builders let you preview the app before generating the final binaries. Use this preview to click through your catalogue, test the search function, and confirm that product images and prices match your live store. Fix any discrepancies now, because changing them after launch requires a new build and a store review.
Step 4: Test Thoroughly Before Submitting
Testing is where most launch disasters are prevented. Install the app on at least two physical devices, one iOS and one Android if you have access to both, and run through every critical flow. Place a real test order, complete the checkout with a test payment method, and verify that the order appears in your PrestaShop admin correctly.
- Add a product to the cart, leave the app, and confirm the cart persists when you return
- Kill the app mid-checkout and confirm the order does not duplicate
- Test push notifications on both a locked screen and an unlocked one
- Verify that out-of-stock products disappear or show as unavailable correctly
- Check that your search function handles typos and partial product names
Recruit two or three people who have never seen your store and watch them use the app unassisted. Their confusion points are almost certainly real friction that your existing customers will also hit. Fix those issues before you submit to any app store, because a rejected review cycle can delay your launch by a week or more.
Step 5: Submit to the App Stores
Apple and Google have different submission requirements, and neither process is instant. Apple's App Store review typically takes longer and is stricter about design guidelines, while Google Play uses a more automated review system. Prepare your store listings in advance so you are not waiting on copy or screenshots when your build is ready.
Your store listing needs a clear app name, a compelling description that mentions your key product categories, and screenshots that show the app in action. Submit your builds, monitor the review status, and be ready to respond quickly to any questions from the review teams.
Conclusion
Launching a branded mobile app for your PrestaShop store is a significant step, but the checklist approach makes it manageable. From selecting the right builder, like the PrestaShop Mobile App Builder to configuring features, designing for conversion, and promoting your go-live, every stage builds on the last. Follow these steps methodically, and you will deliver an app that shoppers genuinely enjoy using, one that drives loyalty and repeat sales well beyond launch week. Start with step one, and work through the checklist at your own pace.